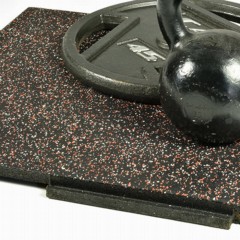
Multi Use Rubber Floor Tiles
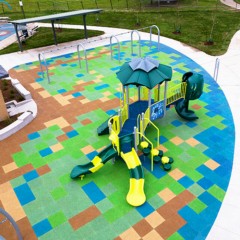
Rubber floor tiles from Greatmats are popular for dozens of residential and commercial use cases. They work well at home in a basement gym, playground, garage, workshop, or commercial industrial setting. You can use rubber tiles in an indoor room around heavy weights, on an outdoor roof patio, or anywhere in between.
Best Features of Rubber Tile Flooring
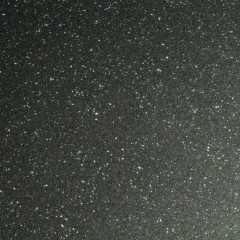
Rubber tiles are among the most durable types of flooring, offering the ability to stand up to significant weight without showing wear and tear. Some of its best features include:
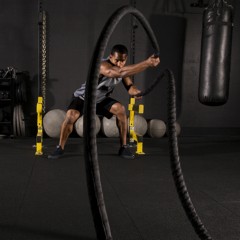
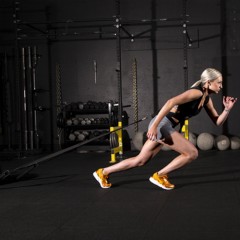
- High-level traction for athletes
- Tough and long-lasting
- Noise absorbing design
- Absorbs vibrations
- Safer for kids at playgrounds with cushioning against falls
- Resistant to showing wear and tear from foot traffic
- Revitalize and transform an outdoor rooftop patio
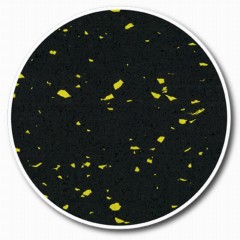
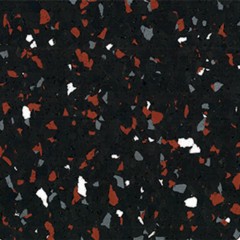
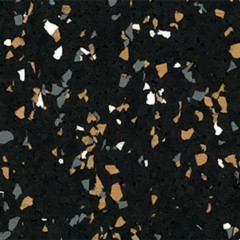
- Environmentally-friendly recycled material
Different Types of Residential or Industrial Rubber Floor Tiles
Three primary designs are available, including:
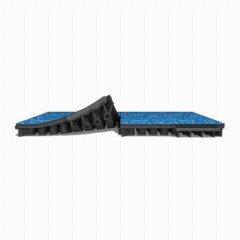
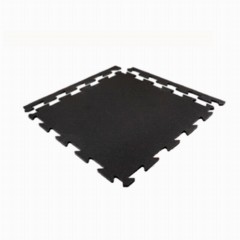
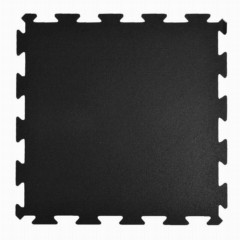
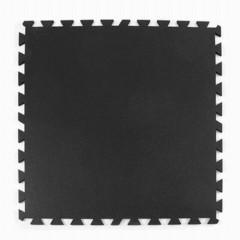
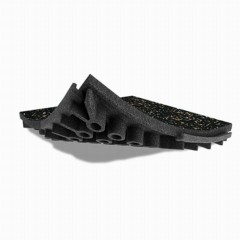
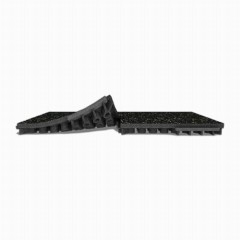
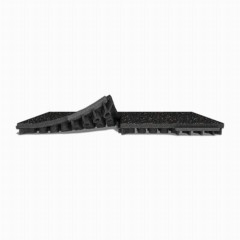
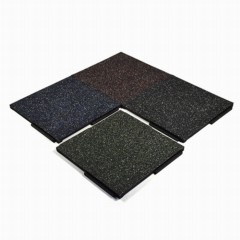
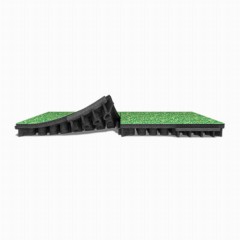
- Puzzle: With a puzzle-style edge, you can interlock the tiles without needing to use glue.
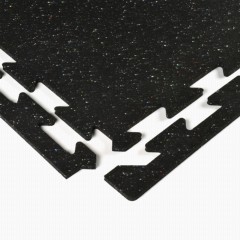
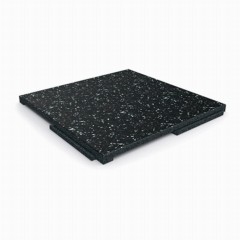
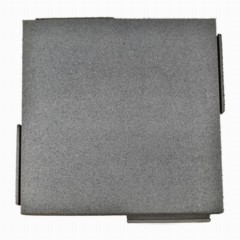
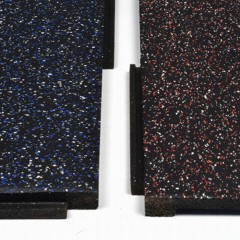
- Hidden interlocking edge: Some tiles have an edge that connects underneath, where it is not visible, for a clean, finished look.
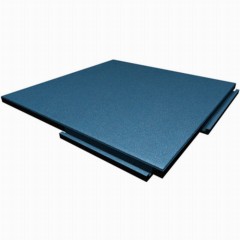
- Straight edge: Glue-down tiles in the shape of squares, abut each other to generate clean lines in the finished layout.
Different Sizes and Thicknesses of Rubber Flooring Tiles
Thicker tiles deliver greater longevity, noise absorption capabilities, and cushioning. In comparison, thinner tiles have a lower cost per square foot and are easier to install. Thickness options we offer include from 1/4 inch up to 5 inches thick.
Common Use Types for Rubber Tile Products
Because of the impressive versatility available with flooring tiles made from rubber, you can find them in a wide range of installation locations, including:
Interlocking Rubber Floor Tiles Q&A
How do you lay rubber floor tiles?
Whether
installing rubber flooring tiles as residential or commercial rubber flooring, the process is easy. No tools are necessary for island layouts, while against-the-wall layouts require nothing more than a tape measure, ruler, T-square, a sharp utility knife, and some elbow grease.
Is rubber flooring expensive?
Not really.
Rubber flooring (available in tiles, mats or rolls) is an economical choice for covering a large surface area, such as at gyms or weightlifting rooms, versus what it would cost to install wood products in the same area. It's also extremely durable, so it represents a smart value.
Are rubber floor tiles waterproof?
Water resistance of rubber tiles is a key feature. Spills and sweaty workouts creating a wet area are easy for these materials to handle. Vulcanized rubber tiles are 100% waterproof but may allow water to slip in between the tiles at the seams if soaked or pressure washed.
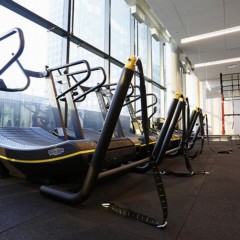
What are the best commercial rubber floor tiles for weightlifting?
Some people choose to increase the cushioning and absorb noise in a weightlifting area by adding tiles over the top of an existing rubber floor or another type of floor. Interlocking tiles or straight edge rubber mats made specifically for weightlifting are the
best rubber weightlifting mats.
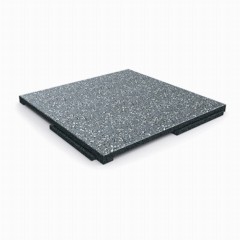
How do you install rubber tiles on a rooftop?
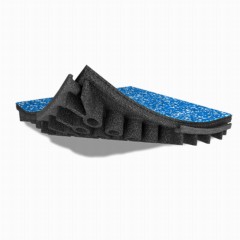
After consulting a professional to be certain the roof is structurally sound for supporting a
rooftop deck. For residential rooftops use one of our modular perforated floor tiles with easy-to-install connecting tabs, both options are rubber roof membrane safe. For commercial installations use a 2-inch rubber tiles with hidden connecting edges. This requires a professional installation in areas over several hundred square feet.
Are rubber tiles waterproof?
Sometimes. Should spills or rainstorms occur, they’re easy to clean. To clean them, simply spray them off with a garden hose.
Caution: Only use a power washer if the tiles are made from vulcanized rubber. Pressure washers can force water into the pores of non-vulcanized rubber.
They can be swept and then mopped with water and a mild household cleanser. Refer to the product description of the particular model that’s in use for detailed care and maintenance instructions.
 $1246 /Tile You Save 20%$2.87/sqftShips Out in 7-10 Working Days SustainableShop
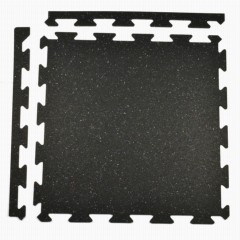
 $1027 /Tile You Save 20%$2.37/sqftShips Out in 7-10 Working Days SustainableShop
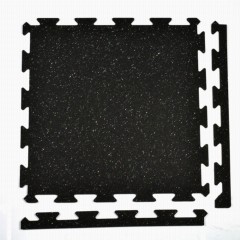

 $2229 /Tile You Save 19%$2.70/sqftShop
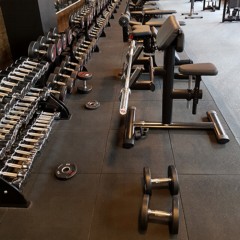


 $3875 /Tile You Save 17%$9.69/sqftShop
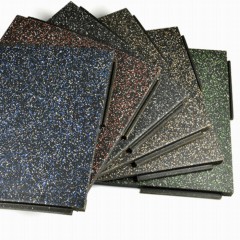


 $3875 /Tile You Save 17%$9.69/sqftShop


 $5683 /Tile You Save 17%$14.21/sqftShop
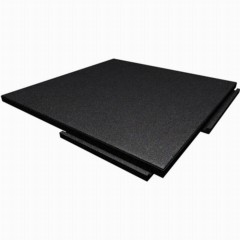

 $4391 /Tile You Save 18%$10.98/sqftShop


 $4649 /Tile You Save 18%$11.62/sqftShop
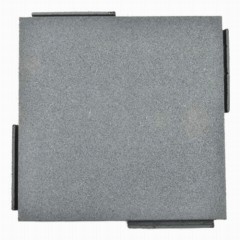


 $5424 /Tile You Save 18%$13.56/sqftShop