How to Install DIY Basement Flooring


Related Product: Carpet Tiles Modular Squares 3/4 Inch x 1x1 Ft.
New flooring can change all of that, and with our DIY-friendly flooring options, you can install basement flooring completely on your own. We stock plenty of DIY basement flooring products that are affordable, waterproof, and that can be installed in a single afternoon. So why wait? Order your basement flooring and get started on your new project now.
How much does it cost to finish a 1000 sq ft basement?
Before you install your DIY basement flooring, you need to order it - and there's nothing worse than getting partway through an installation only to discover you don't have enough flooring to complete the project.
How much flooring do you need? That's why Greatmats created the Pro Floor Designer. This online tool can help you to plan out and design your basement, helping you solve the flooring portion of the above question. Just choose the product you're going to use, enter the dimensions of your basement, and the Floor Plan Designer will help you to lay out your flooring. It can tell you how much product to order, so you minimize the amount of extra product, while still making sure you have enough to complete the project.
Still have questions? Give our excellent Customer Service Representatives a call. Our team of flooring experts will be happy to answer questions about products, provide you with shipping quotes, and ensure you have everything you need to get started working on your basement.
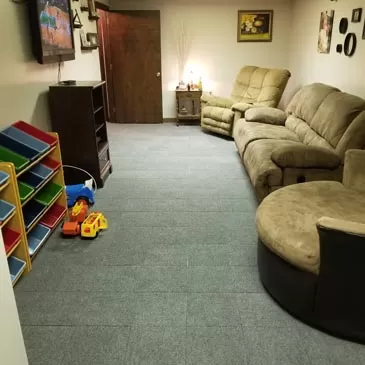
Installing Snap Together DIY Basement Flooring Tiles
 If you've decided to purchase snap together basement tiles, then installation is simple and easy. Installing snap-together DIY basement flooring tiles is really a matter of aligning the tiles and connecting them. These tiles generally feature raised bases, which allow air and moisture to freely circulate beneath them. Moisture or leaks are no big issue, since the water dries quickly, rather than becoming trapped beneath the tiles.
Snap together tiles need to be aligned in a particular direction to fit together. This is generally achieved by pointing the two loop sides in the same direction. Most of our tiles can be attached without the use of tools.
When installing snap-together DIY basement flooring tiles in an island installation, you'll want to do some planning ahead of time. It's best to purchase tiles that are available with border strips. You can attach the strips to the exterior tile edges, creating an island installation with finished, clean edges.
Start by planning out where you want your floor to be located. Then, work your way along, attaching the tiles together. Install basement flooring with your edge pieces along the perimeter, and you're done!
For a wall-to-wall installation, start in one corner and work your way out. You may want to purchase edge pieces to create a straight edge to fit against the wall, but be sure to leave a gap for expansion if you're using a type of tile that may expand and contract with temperature changes.
When you reach the opposite wall, you'll likely need to cut the final line of tiles. To do this, measure the appropriate length of the tile (and an edge piece, if you're using them). Use a straight edge to guide your cut, and cut the tile with a sharp utility knife. Use repeated, shallow scores to gradually work your way through the tile. In some cases, a power saw may be more appropriate.
You can use this same method for anti-fatigue basement floor tile installation.
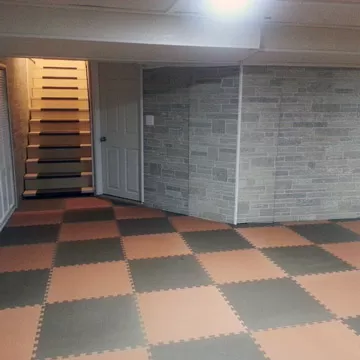
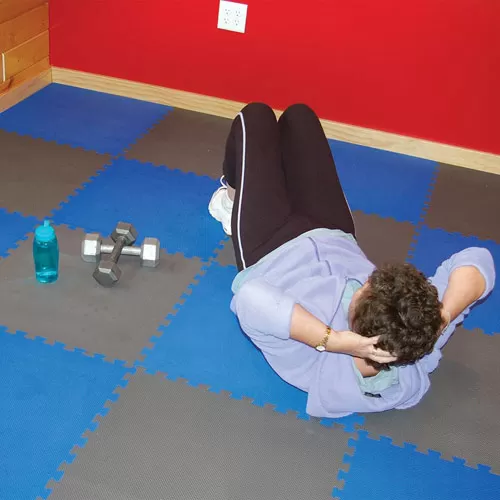
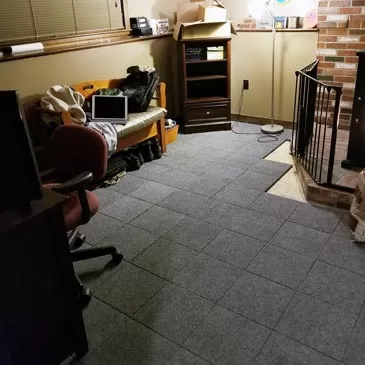
How to Install Basement Flooring Puzzle Mats
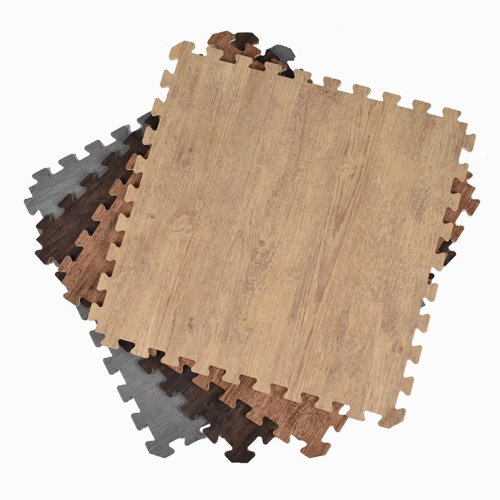 Installing puzzle mats for your DIY basement flooring is incredibly fast and easy. These mats offer excellent cushion, creating a welcoming surface suitable for family rooms, exercise rooms, and even kids' playrooms.
If you're installing basement puzzle mats in an island design, then you may want to choose mats that come with border strips. These border strips can create a clean, finished edge around your flooring.
For an island installation, plan out where you want the flooring to be located. You can either start in a corner or the center and work your way out, connecting one tile at a time. If you begin in a corner, work outward in a triangular fashion. If you begin in the center, a spiral pattern of installation works well. To add a tile, align the edges and press down, much as you would connect a puzzle piece. Once all of your tiles are in place, add on the edge pieces.
When performing a wall-to-wall installation for foam mats, you'll need to leave about 1/2-inch of space between the flooring and the walls. Foam flooring can expand with temperature fluctuations, and if it's pressed directly up against the walls, this expansion can cause the tiles to buckle upward. More dense rubber puzzle mats can usually get by with a 1/4 inch expansion gap.
For wall-to-wall installations, start in one corner and work your way out evenly in both directions. When you reach the opposite wall, you'll likely need to cut the remaining DIY basement flooring tiles to fit. Measure the distance (being sure to leave 1/2 inch of space between the tile and the wall), and use a straight edge to guide your cut. Make repeated, shallow scores with a sharp utility knife. If the knife begins to tear the tile, you'll need to replace your blade with a new one.
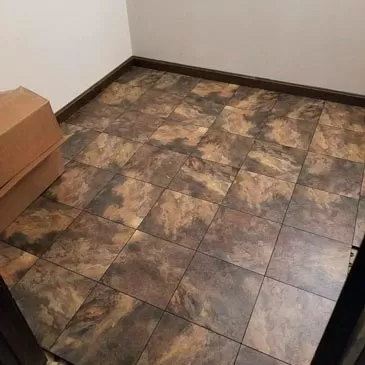
Installing Waterproof DIY Basement Flooring Tiles
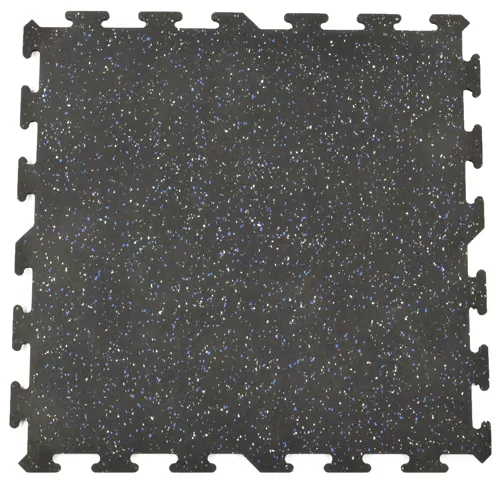 When installing waterproof basement floor tiles, such as vulcanized rubber floor tiles, you can use the same two methods: wall-to-wall or island installations. Keep in mind that most of these tiles will follow the puzzle mat style and installation methods. EVA Foam, PVC, and Polypropylene DIY basement flooring is also waterproof.
Island installations are the simplest method of installing waterproof basement floor tiles. If you plan on doing an island installation, you may want to purchase tiles that come with border strips. Border strips create a clean, finished exterior edge, making for an attractive aesthetic.
For an island installation, decide just where you want to locate your floor. Start with a corner tile and work your way out, adding on tiles as you go. Installing waterproof basement floor tiles is easy because the tiles fit together securely without the need for any adhesive. Once you have your tiles in place, add on your border strips.
For a wall-to-wall installation, you will want to start in one corner of the room. If you're using a tile that can expand with temperature fluctuations, then you'll need to leave a small gap between the tiles and the wall. Border strips can help simplify the start of the installation as it removes the need for cutting the tiles along the first two walls.
Install the tiles, working your way across the room. When you get to the opposite wall, you'll probably need to cut the tiles to fit. You can do this by using a straight edge as a guide and a sharp utility knife.
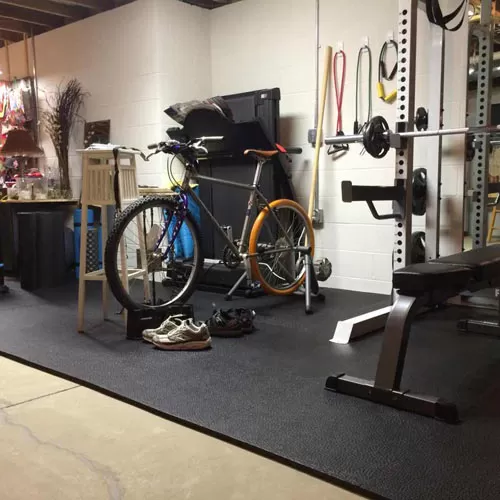
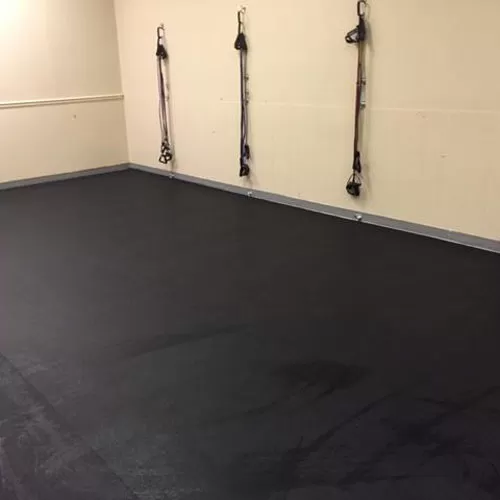
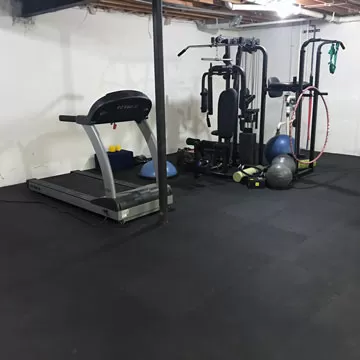
Installing Basement Flooring Rubber Rolls
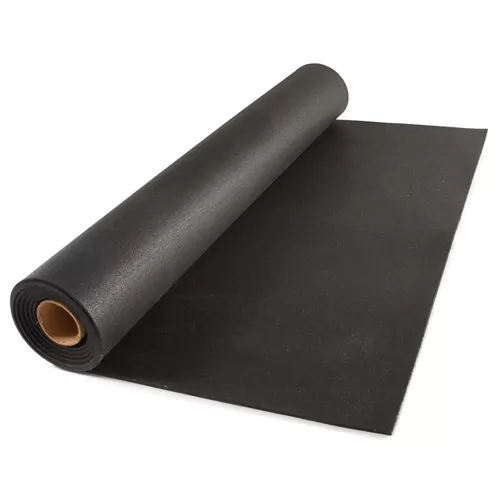 Rubber rolls are another great choice for DIY basement flooring installations. This form of DIY basement flooring is highly durable and strong. Rubber rolls create an ideal surface if you're planning to use the basement as a workout space. They're economical, long-lasting, and easy to install.
You should be aware that rubber rolls, especially those made of thicker rubber, can be very heavy, so plan to have multiple people to help carry the rolls into your basement. It's also useful to have at least a second person to help unroll and guide the rubber flooring into place.
Installing rubber rolls in a basement is fairly simple. Rubber can be installed on top of any hard, flat surface, such as a concrete basement floor. If you're performing a small installation under 400 square feet, then you can dry lay the rubber and don't need to worry about any sort of adhesive. Installations measuring over 400 square feet should be taped down or secured with an adhesive.
For a wall-to-wall installation, measure the distance between your two walls and cut the flooring to size. You can cut rubber flooring using a sharp utility knife and a straight edge as a guide. Make repeated scores in the rubber until you work your way through the full thickness of the flooring. If the rubber starts to shred as you cut, replace your utility knife blade with a fresh one.
Once your flooring is cut to size, you can install it by laying it in place.
Don't want to worry about cutting rolled rubber to size? Custom cut lengths are available, so the flooring will arrive appropriately sized and ready to install. Please contact our customer service team for details.
In order to tape down your flooring, begin with a clean, dry flooring surface. Use double-sided floor tape, tape around the flooring perimeter, and at the seams. Press the flooring firmly against your subsurface.