How to Install Carpet Tiles on Concrete


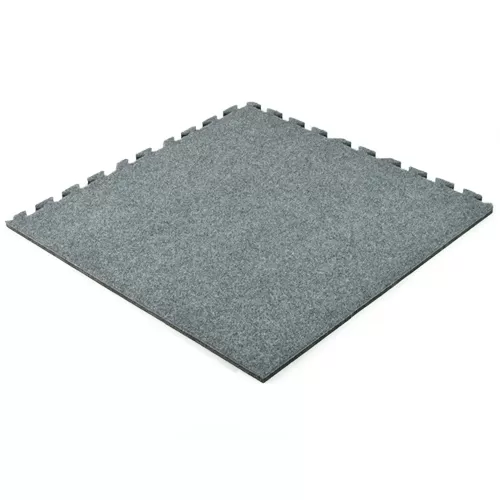
Related Product: Royal Interlocking Carpet Tile 5/8 Inch x 2x2 Ft.
Below is a quick tutorial on how to install carpet tiles on concrete. At Greatmats, you can also find carpet tiles with a simple peel-and-stick installation, as well as those that are designed to be installed with adhesive.
Installing Floating Carpet Tiles
Floating carpet tiles are some of the easiest tiles you can install over concrete. These tiles, also called modular tiles, require no adhesive. Instead, the tiles “float” over the cement basement floor since they aren’t fully adhered down.
Floating tiles are ideal for basements for several reasons. These modular tiles are easy to remove if your basement experiences a serious flood. You can dry them out and then reinstall them. Some floating tiles even feature a raised base, which lets air and moisture circulate freely beneath to help speed drying and prevent mold and mildew growth.
The exact installation process for floating tiles depends on the type of tile you’re using; we’ve included details on working with floating carpet tiles with padding and floating tiles with a plastic base below.
Installing Peel-and-Stick Carpet Tiles
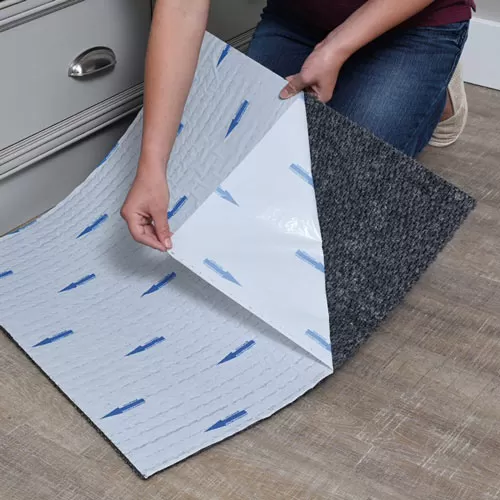
If you’re looking for a more permanent installation than floating carpet tiles, peel-and-stick carpet tiles are the next simplest option. These tiles feature an adhesive backing that secures each tile to the floor. By removing the plastic covering, you’ll expose the adhesive before installing each tile.
It’s essential to carefully follow the manufacturer’s installation instructions when working with peel-and-stick carpet tiles. The instructions will include details on how to prepare your concrete floor. To start, remove any dust and dry debris that could affect the adhesive. You may want to mop the subfloor, but make sure it’s completely dry before you install the tiles.
Perform a dry lay first, where you arrange the tiles in the desired layout. You can use a utility knife and a straight edge to cut the tiles to fit. Once you have cut the tiles, remove the protective backing from one tile to expose the adhesive and press it firmly onto the subfloor. You can repeat the process with the remaining tiles.
Installing Glue Down Carpet Tiles
Glue-down carpet tiles offer the most permanent installation, but the installation process can be complex. Carefully read the manufacturer’s installation instructions and make sure you’re using an adhesive that meets their specifications.
Your concrete floor must be permanently dry and perfectly smooth. It also can’t have any cracks or contaminants, like paint, old adhesive, oil, wax, or grease. Manufacturers often recommend keeping the room’s temperature and humidity between a certain range during the installation since fluctuations can affect the adhesive. You’ll also need to maximize ventilation in the room.
When you position the tiles, make sure that main traffic runs parallel to the seams and light doesn’t strike directly across the seams. Parallel seams need to be positioned in doorway openings that connect adjoining rooms.
To install the tiles, sweep the subfloor, then snap caulk lines on the centerline in north-south and east-west directions to create a cross.
Spread the adhesive with a trowel, let it flash for 20 to 45 minutes, and then begin the tile installation. Start with the tile in the center, then install tiles in a parquet pattern by quarter-turning each tile. Work your way from the center to the outside edges of the area. Use a floor roller over the adhered areas to ensure the adhesive transfers to the tile backing. You can cut tiles to fit with a straight edge and a sharp utility knife.
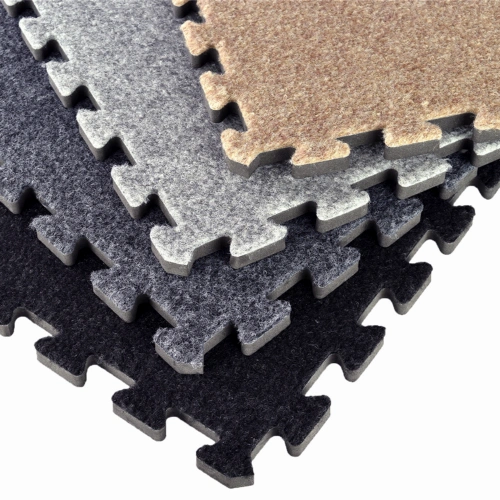
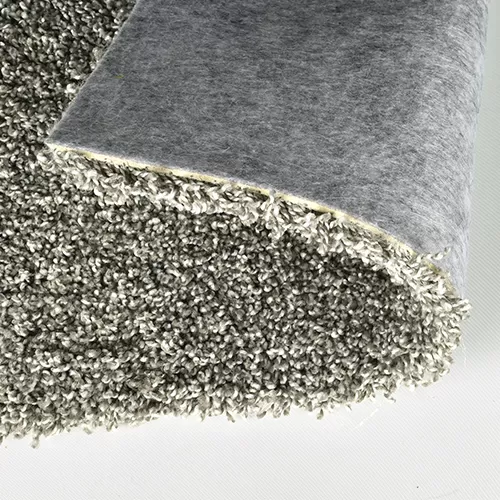
Installing Carpet Tiles with Padding
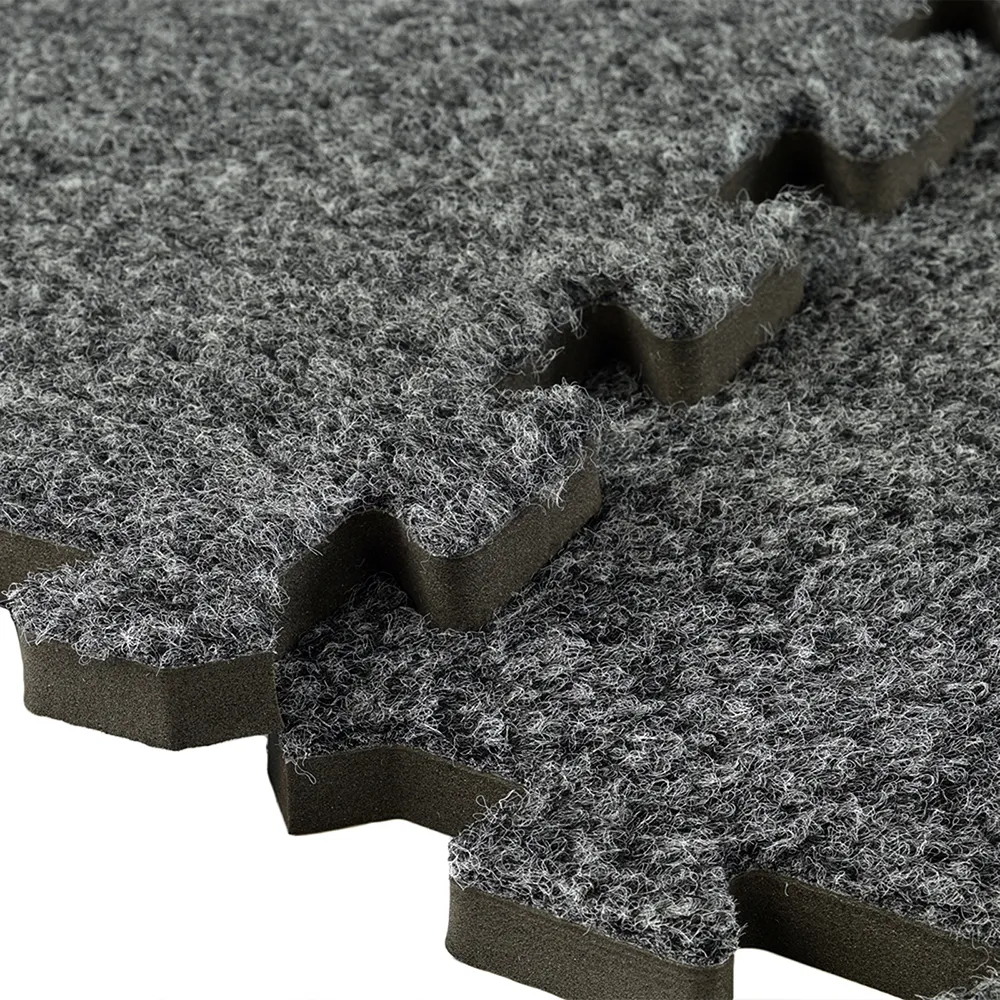
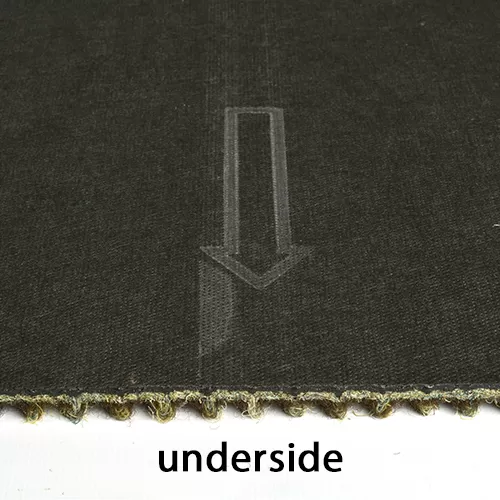
When installing puzzle-style carpet tiles with a foam base, it’s easiest to start in a corner and work your way out diagonally. Some puzzle carpet squares have a universal interlocking system, meaning that it doesn’t matter which direction the tiles face; they will still interlock together. It is important to keep in mind, however, that the nap of the carpet generally does have a consistent direction that you’ll want to follow to keep a uniform look.
If the carpet tiles are directional, they’ll usually have a mark, such as an arrow, on the back to indicate which direction the tiles should face. In this case, make sure all of the arrows point in the same direction. If they don’t have an arrow, watch for identifying parts of the puzzle edge, usually in a corner, and make sure that the same style of corner always faces the same direction.
Once you’ve identified what direction the carpet tiles should face, simply push the tiles together, much like a puzzle piece, until you’ve reached your desired coverage area. Should you need to cut the tiles to go around posts, pillars, etc., or for a wall-to-wall installation. A simple sharp utility knife will do the trick.
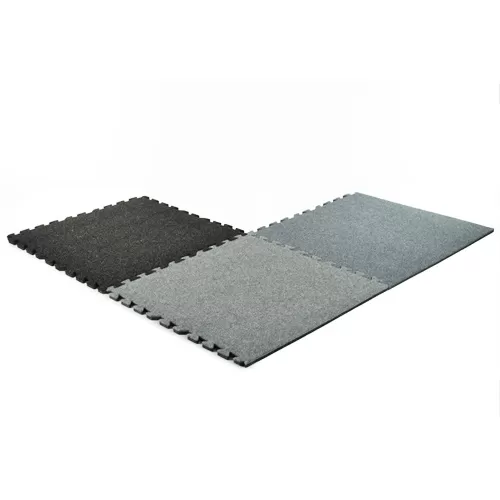
These tiles are designed for floating installation, meaning that you will not need to glue the carpet tiles down to the concrete. This is especially helpful if you are installing in a basement or garage where moisture and/or condensation may be present because you are then still able to lift the carpet tiles and allow for drying underneath.
Installing Interlocking Carpet Tiles with A Plastic Base
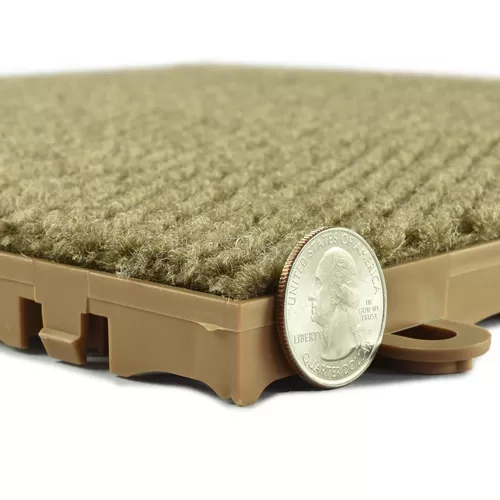
Plastic-based carpet tiles typically feature a raised base and a snap together tab-n-loop style connector system. These carpet tiles are much more particular in the direction the tiles should face for proper installation. In fact, you won’t be able to install a snap-together carpet tile floor without the tiles all facing the same way.
Again, start in a corner and work out diagonally. Line up your first tile with the two flat sides on the outside edges of the corners. Then, being sure to keep the loops on the same two sides as the original tile, lay each successive tile over the loop edges of the already laid tiles and step on the seam to get the new tile to snap into place.
To customize snap together carpet tile floors to accommodate obstacles, using a power saw to cut the tile is generally recommended.
Like the foam-based carpet tiles, plastic-based carpet tiles are also floating floor tiles and should not be glued down. The advantage of these tiles is the fact that they keep the carpet material raised off of the concrete, preventing water from soaking into the material - if they aren’t already waterproof. They allow for airflow underneath the tile, preventing moisture from becoming trapped beneath the carpet, making a perfect solution for basement floors that may get wet on occasion.