How To Install Click Tiles and Borders


Related Product: Carpet Tiles Modular Squares 3/4 Inch x 1x1 Ft.
The Benefits of Click Tiles
Click tiles are an easy DIY option suitable for use in home garages, basements, and on sports courts. These tiles feature a system of hooks and loops that essentially click together, connecting the tiles securely.The installation process is fast and easy, requiring no adhesive, and the tiles can also be removed. Additionally, border pieces are available to create clean, finished edges, concealing the hooks and loops on the exterior pieces and making for a smoother transition onto and off of the flooring.
At Greatmats, we stock a variety of click tiles suitable for numerous installations:
Carpet Tiles Modular Squares
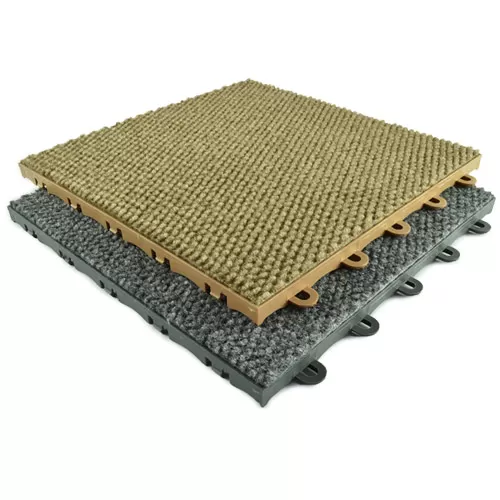 Carpet Tiles Modular Squares offer a durable carpeted surface that’s ideal for use in damp areas and basements.
TurboTile Perforated Garage Floor Tiles
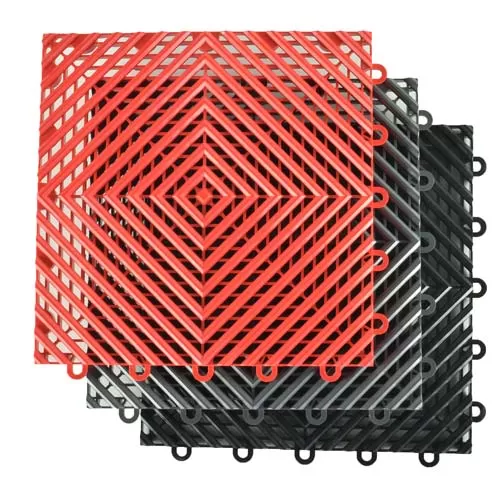 TurboTile Perforated Garage Floor Tiles feature a slip-resistant design and are supremely strong; the tiles are rated to support a 10,000-pound static load.
TurboTile Diamond Garage Floor Tile
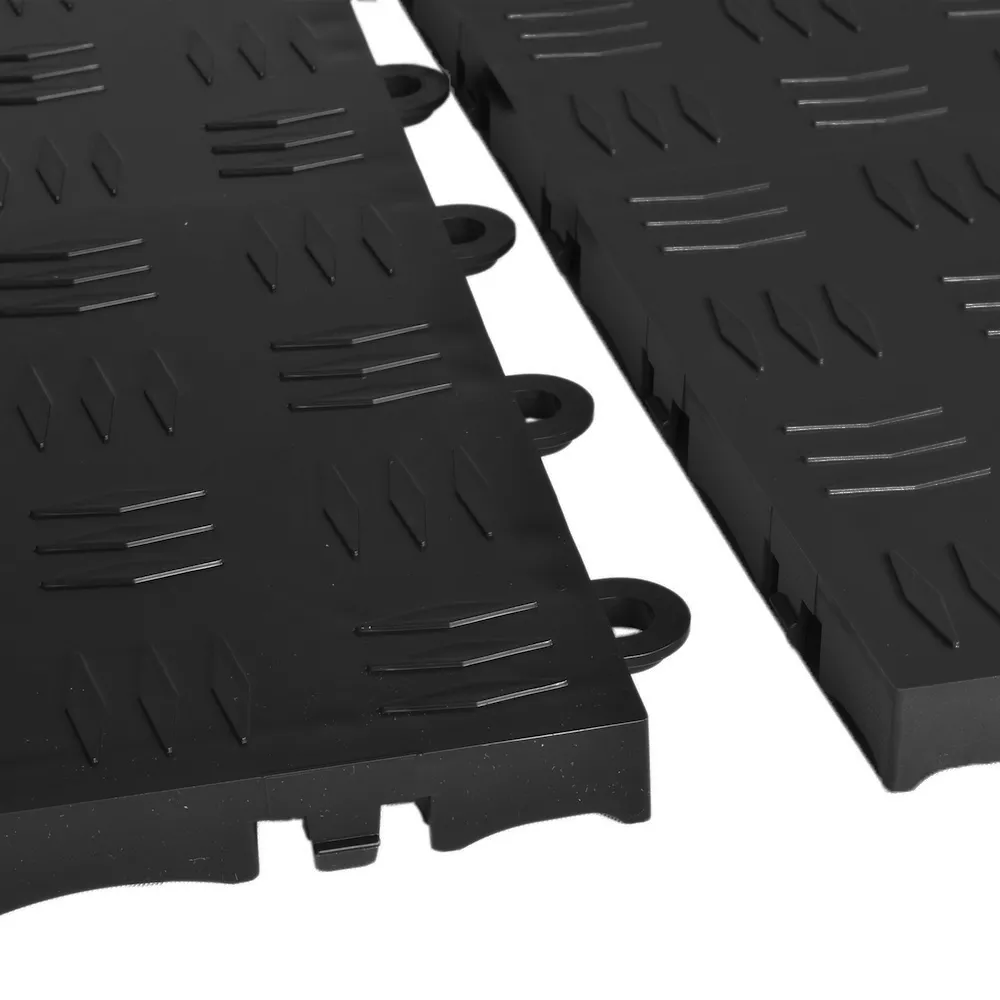 TurboTile Diamond Garage Floor Tiles are highly durable tiles crafted from polypropylene, and they’re ideal for use around cars.
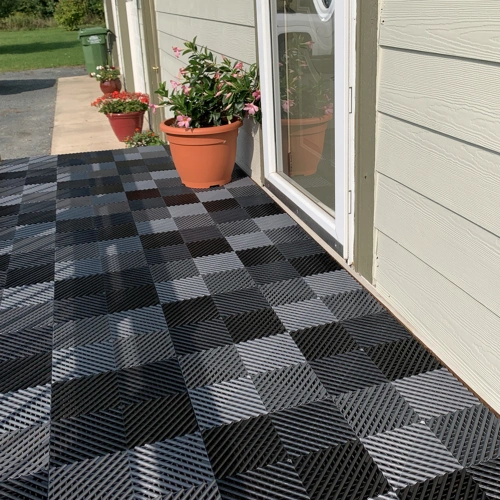
Court Floor Tile Flat Top
 Court Floor Tile Flat Top tiles feature a raised base and can be painted with court lines, making them ideal for athletic courts and even for use as dance subfloors.
How to Install Click Tile Flooring
While these instructions work as a general guide, be sure to always consult the instructions provided by the manufacturer of the tiles that you’ve purchased.To install click tile flooring, you’ll need a few tools:
- Measuring tape
- Straight edge
- Rubber mallet
- Band saw
When you begin the installation, start in the bottom corner of the area that you plan to floor, and then work across, row by row.
You can install the flooring in a few simple steps:
- Position the tiles so that the loops face outward. As you add new tiles, make sure they’re positioned in the same direction.
- When adding a new tile, position it so the hooks or loops overlap with the hooks or loops of the existing tile.
- Use your hands or a rubber mallet to click the hooks and loops into place, connecting the tile.
- Work your way over, row by row.
How to Cut Click Tile Flooring
When you reach the edge of the room, you can either install border strips to create a clean, finished edge or you can cut the floor tile to fit up against the wall. Cutting the tiles is simple:- Once you’ve installed the last full tiles that can fit, measure the distance between that last tile and the wall.
- Transfer that measurement to the floor tile that you plan to cut, and draw it onto the tile using a pen or marker. Be sure to use a straight edge to ensure the line is straight.
- Use a band saw to cut the tile along the guideline that you’ve marked.
- Repeat this process for the remaining tiles.
- Once the tiles are cut, you can attach them to the tiles you’ve already installed, creating a floor that reaches the surrounding walls.
How to Install Click Tile Flooring Borders
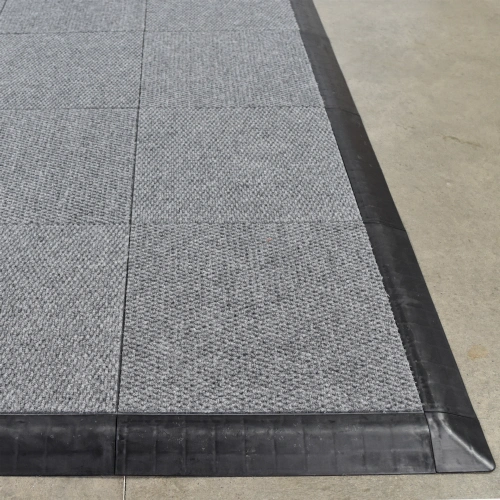
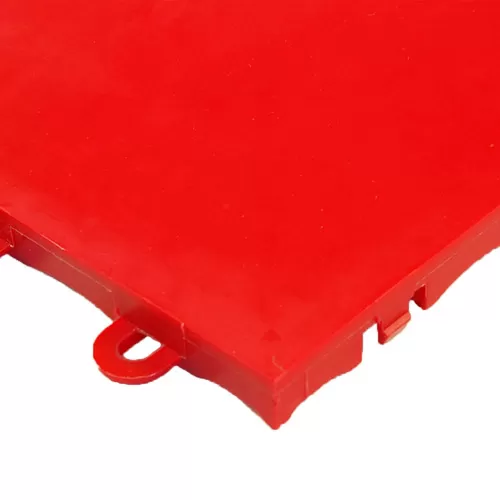
You can choose to purchase corner and ramp pieces designed specifically for click tiles. These pieces create clean, finished edges, plus they act as a ramp, making the transition onto and off of the flooring smoother and helping prevent tripping.
For example, the Click Tile Border Ramp pieces are crafted from waterproof black plastic. They’re available in male and female pieces to attach to your existing tiles. Click Tile Corner Ramp pieces are also available to install in between the ramp pieces, creating a finished corner.
To install the border strips:
- Determine whether you have male or female tile edges exposed. Female click tiles have loops coming off their edges, while male borders have nubs at the bottom.
- Choose an appropriate border strip. If you have male edges exposed, you’ll need a female border strip. If you have a female edge exposed, you’ll need a male border strip.
- Press the border strip onto the click tile edge with your hands, or use a rubber mallet.
- Once you’ve installed all of your border strips, install corner pieces in the same way to complete your flooring.