How Do You Install Carpet Tiles?


Related Product: Gym Floor Covering Carpet Tile 6mm x 39-3/8x78-3/4 Inches
If you are wondering how to complete a carpet tile installation, you’ve come to the right place. Most of the products at Greatmats allow for easy carpet tile installation, and many of them can be installed over virtually any subfloor - from concrete to wood, and in many settings from a basement to an office or bedroom. Some can be installed without glue or adhesive, as they snap together or have a peel and stick backing. Most can be installed without a padding, and they almost all deliver a seamless look.
5 Carpet Tile Installation Methods & Products
Of the many different products at Greatmats, the following 5 are some of the most popular options - which vary by cost, installation method, patterns available, and material type. They make carpet tile installation a relatively easy process, too, with many potential methods to use.1. Snap Together Carpet Tile Installation
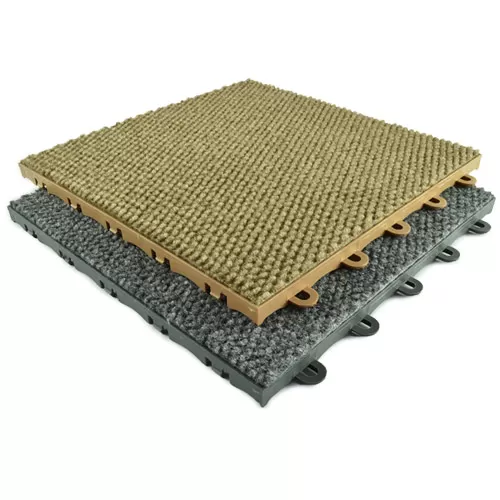 Carpet Tiles Modular Squares are a great choice for basements, bathrooms, and other damp areas, because they offer a floating floor that allows for air and water flow beneath. They are made from recycled materials, and they have a berber-like carpet top.
To install:
- Begin in a corner by placing one tile down with its loop side facing out. Work your way out evenly in both directions from the corner, filling in the center along the way and keep each tile facing in the same direction.
- Snap the tab connectors down into the loops of the already laid tiles to secure the carpet tiles together. For island installations, a ramped transition strip is available to create a finished edge. Ramped border strips are connected in the same fashion as the tiles and are sold separately.
- For wall-to-wall installations, add tiles until you can no longer fit any full tiles. When you reach that point, measure the distance between the already laid tiles and the remaining wall(s). Mark that distance on the carpet tile, keeping the direction of the tile in mind.
- Cut the tiles to fit using a power saw and snap into place flush with the remaining wall(s) to complete the project.
2. Puzzle Carpet Tile Installation
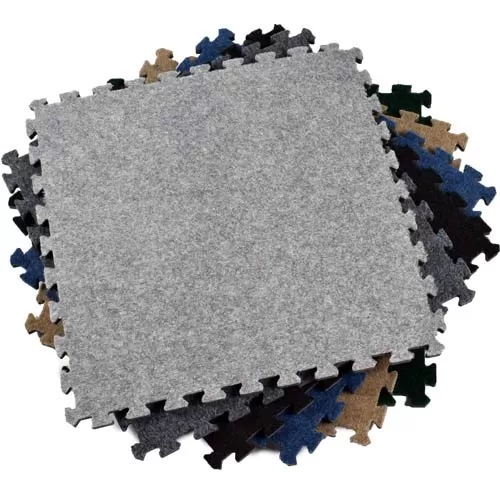 Royal Interlocking Carpet Tile is among the most versatile and popular products that allow for an easy carpet tile installation process for all indoor and many outdoor applications. This product is waterproof and stain resistant. The tiles are also odor proof, easy to clean, and provide a comfortable anti-fatigue and insulation value similar to traditional plush carpet rolls.
To install:
- Start in one corner of the area to be covered. Work over a clean, hard, flat surface. Leave a gap of ¼ inch between the tile edges and the wall for expansion.
- Remove the attached border strips from the tiles as needed, then connect the tiles together by pushing their seams together. The tiles have a universal interlock design, so they’ll connect together in any direction, but you will want to pay attention to the directional arrows on the underside of the tile to keep the nap running the same direction.
- Work your way out from the corner, keeping all tiles facing the same direction and attaching one tile at a time. Work your way out from the corner and work your way evenly in both directions until you can’t attach any more unaltered tiles between the floor and the wall.
- If you need to cut tiles for a perfect fit, mark the underside of each tile that you need to cut with a pen. Then, make the cut using a sharp utility knife. Use a straight edge to guide your cuts. Create a series of shallow scores to ensure a clean cut.
- Finish your installation by connecting the cut tiles next to your remaining walls. For island installations, create a finished edge by putting any needed border strips back in place.
If you need to cut tiles for a perfect fit, mark the underside of each tile that you need to cut with a pen. Then, make the cut using a sharp utility knife. Use a straight edge to guide your cuts. Create a series of shallow scores to ensure a clean cut.
Finish your installation by connecting the cut tiles next to your remaining walls. For island installations, create a finished edge by putting any needed border strips back in place.
3. Peel and Stick Carpet Tile Installation
 Smart Transformations Crochet 24x24 In Carpet Tile is a product made of recycled purified plastic bottles. Fibers will not fray, and the color will not fade. They have a peel and stick, pressure-sensitive adhesive, and they are suitable for indoor or outdoor use.
To install:
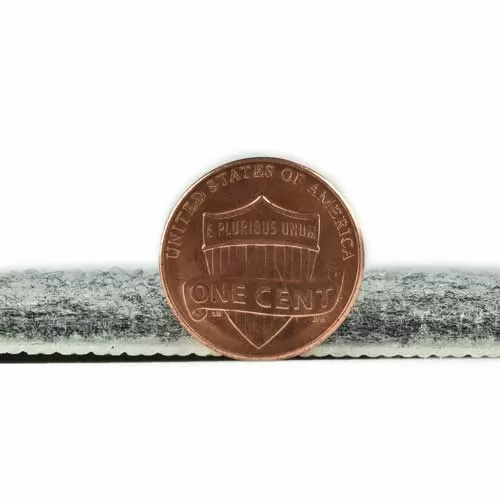
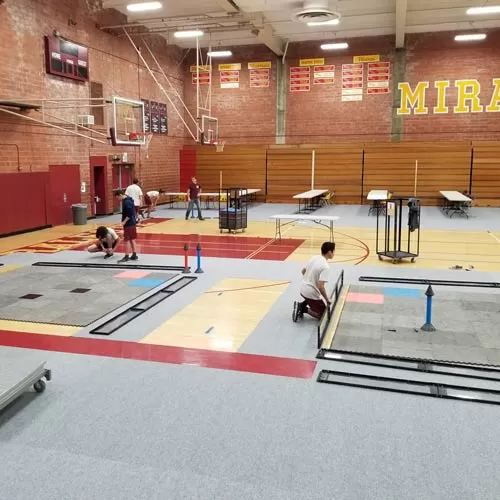
- You'll want to keep the gym carpet segments on a large hand cart that can handle a lot of weight. Each tile weighs 13.8 pounds, and each tile measures 3.28 by 6.56 feet.
- With the carpet tiles stacked on a rolling hand cart, you can pull one gym floor carpet tile off the cart and lay it in place. Then roll the cart forward, pull off another tile, and put it in place. Continue this process to lay out the tiles as quickly as possible without having to carry them very far.
- The tiles have straight edges on all four sides, allowing them to sit tightly against other tiles. You'll want to lay the tiles flush against each other to prevent any gaps or seams from appearing, where someone could trip.
- Removing the gym carpet tiles is just as easy. Use the hand cart to stack the tiles, and roll the cart along as you pick up the tiles. Make sure to stack the tiles as straight as possible to ensure that the stack does not tip as you roll the cart.
These carpet tiles can be installed over any clean and dry floor. The adhesive will stick tightly to the sub-floor, giving you a solid installation.
When you're ready to lay down the tiles, flip the tile so the carpet side is down and pull the protective film off the back of the tile. Do not remove the film until you're ready to lay down the tile, or you risk having particles in the air collect on the adhesive before you can install the tile, which could cause the tile to not stick properly.
Once the film is peeled, flip the tile and hold it over the area where you want to install it, lining it up properly before you adhere it to the sub-floor. Then lay the tile down. Double-check that it's properly aligned. If so, press it firmly in place with your hands around the edges and corners of the tile.
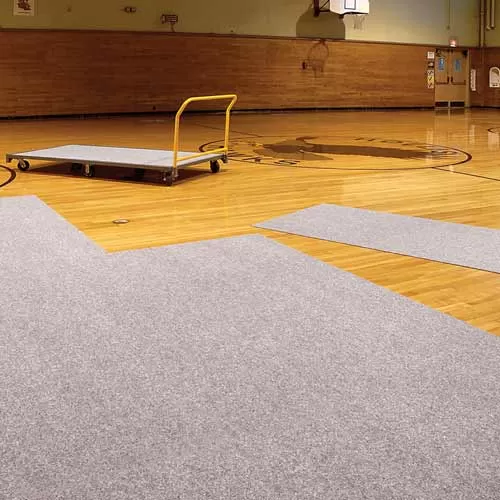
4. Protective Carpet Tile Installation
 Gym Floor Covering Carpet Tile is a product designed to provide protection to a gym floor. It can be installed easily without adhesive, and it’s a great way to add comfort and style with a non-slip backing.
To install:
- You'll want to keep the gym carpet segments on a large hand cart that can handle a lot of weight. Each tile weighs 13.8 pounds, and each tile measures 3.28 by 6.56 feet.
- With the carpet tiles stacked on a rolling hand cart, you can pull one gym floor carpet tile off the cart and lay it in place. Then roll the cart forward, pull off another tile, and put it in place. Continue this process to lay out the tiles as quickly as possible without having to carry them very far.
- The tiles have straight edges on all four sides, allowing them to sit tightly against other tiles. You'll want to lay the tiles flush against each other to prevent any gaps or seams from appearing, where someone could trip.
- Removing the gym carpet tiles is just as easy. Use the hand cart to stack the tiles, and roll the cart along as you pick up the tiles. Make sure to stack the tiles as straight as possible to ensure that the stack does not tip as you roll the cart.
5. Loose Lay Carpet Tile With StayTac Installation
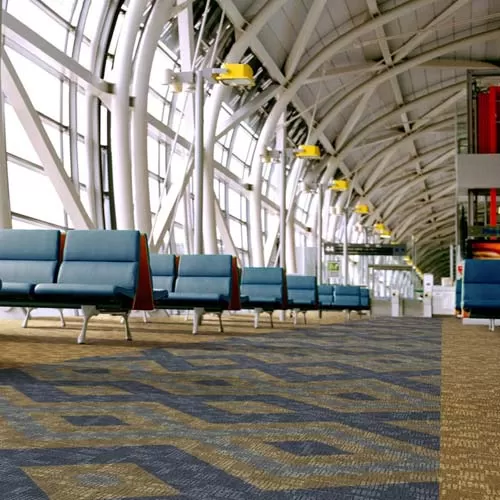
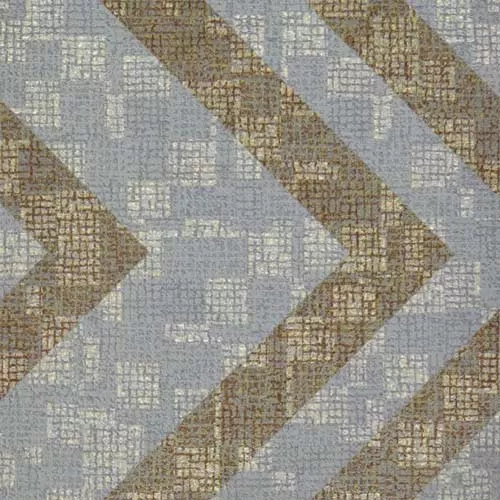
 Etruscan Carpet Tile 1x1 meter is a product suitable for commercial office, retail, and public spaces, and it combines support, cushion, and noise reduction. This one should be laid by a Certified installation contractor to be sure it’s done correctly. This carpet tile installation process will be an easy one for a contractor, as long as the installation instructions found here are followed.
Greatmats - For Products That Make Carpet Tile Installation A Breeze!
These products featured make carpet tile installation a breeze as long as the subfloor is clean and prepped and instructions are followed.If you have questions about any of these products, including installation, just reach out to the Greatmats team. They can assist with ordering, answer questions, and help you determine the best product for your space.