What Kind of Mats Help With Backbends and Back Walkovers?


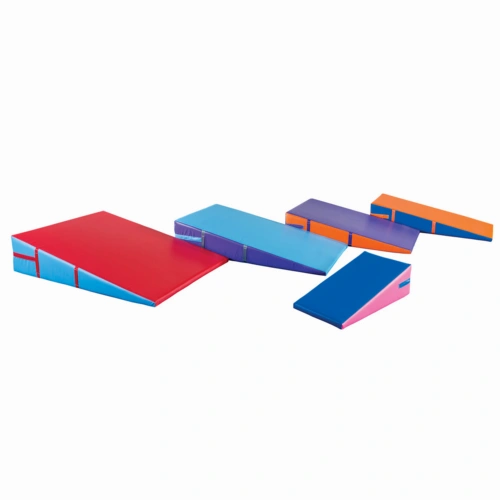
Related Product: Incline Wedge Folding 36 x 72 x 16 Inches
During a beginner level drill, the shape and size of the mat encourages the student to use the proper form to complete the drill. Once the student sees repeated success with the specialized mat, the boy or girl can move to a flat surface and attempt to complete the technique from there.
A specialized backbend mat or back walkover mat provides the confidence for newcomers to the sport to figure out how to do these basic moves. They then can move to more involved drills, gaining additional skills that help them advance in gymnastics and cheerleading.
Additionally, having the proper mat structure in place will keep the athletes safer while they’re learning their skills. With the mat available, should the athlete fall, a padded cushion provides safety, which may give some athletes more confidence to try these skills.
What Are the Best Mats for Learning Backbends?
A backbend is a key element of any gymnastics routine. Because so many aspects of beginner and advanced gymnastics skills start with the backbend, it’s an important skill that all gymnasts need to be learning early in their careers.Backbends work as part of yoga too. Regardless of the type of pose involved, many of them have some form of backbend at the start.
Learning the backbend starts from a prone position (chest or face down). The athletes will use their hands to push off the ground while keeping their pelvic area on the ground. This will cause the back to arch. They can also start to work on bringing their feet up towards their head.
As they get more advanced, the athlete can do the same, starting on their knees and bending back towards their feet.
The next step is for the person to lay on his/her back with the knees and elbows bent upward and then will twist the wrists to place the hands on either side of the head. The student will lift the hips upward, while pushing the legs and arms straight to help with the lift.
At this point, the palms and bottoms of the feet will be in contact with the mat. The body looks like an upside down C, also called a bridge, which completes the backbend stretch.
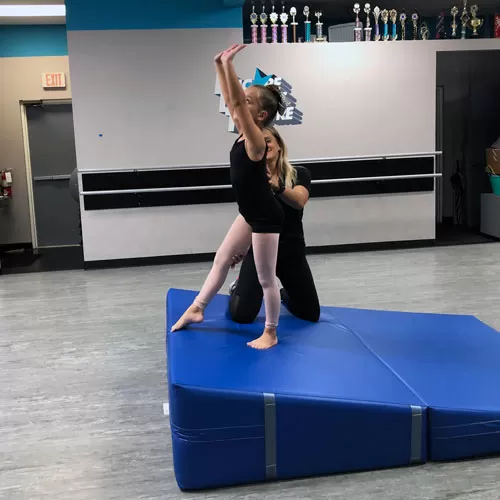
Students will start learning this move by performing a stretch into the upward bridge position, holding it for several seconds, and then returning the body flat to the mat. The student will repeat this step several times, resting in between each stretch, looking to become more flexible and gaining strength.
For some students, this type of stretch is extremely difficult, especially for younger students. The anatomy of some people makes completing the stretch a very difficult process.
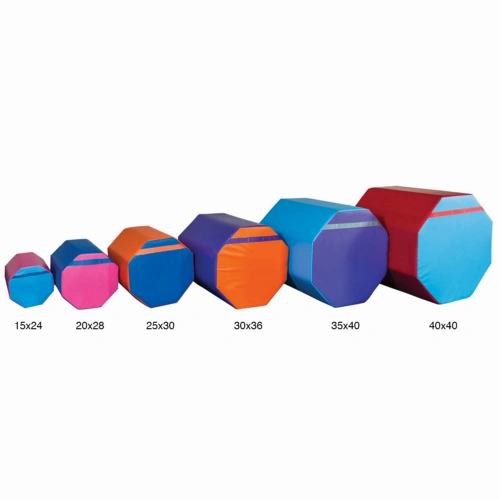
One of the best tips to help students have more success in this situation is to use an octagon shaped backbend mat. This style of mat promotes the desirable arch to be achieved during the backbend while supporting the back for the learning stages.
It can also help to use a mat that puts the athletes feet higher than their head. This reduces the distance the student must lift the hips, yielding a better chance at success.
As the student becomes more familiar with the movement and gains muscle strength using the backbend mat, moving to a flat section of floor to execute the backbend becomes easier.
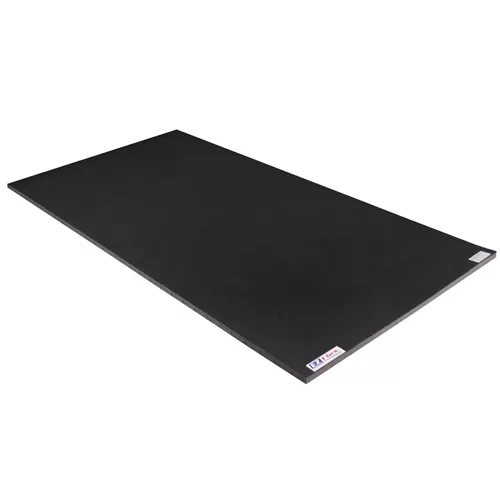
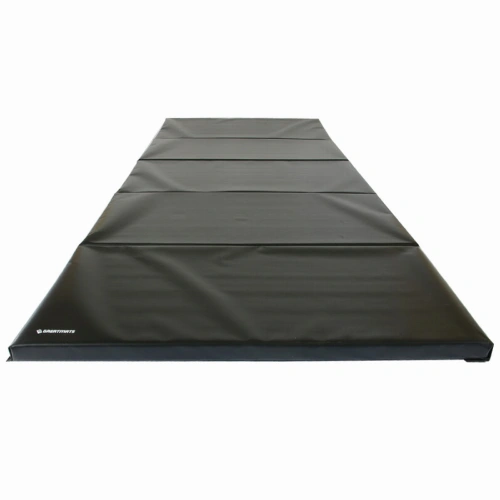
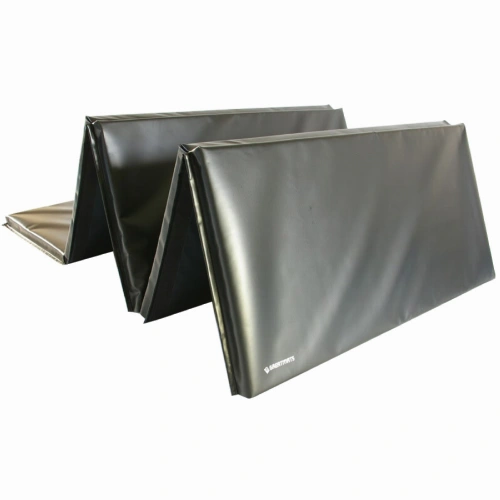 One option for working on the backbend stretch is to make use of a foldable gymnastics mat, such as the Gym Mats 4x10 Foot foldable mat. This is a durable mat for both gymnastics and cheerleading, consisting of an 18-ounce vinyl cover (available in black or blue) that protects a 2-inch thick polyethylene (PE) foam core.
This mat consists of five separate panels, each of which measures 4x2 feet. The vinyl cover connects each panel, ensuring the panels will remain connected, even when placed under the stress of athletes landing on it.
To use this foldable mat as a backbend mat, fold the five panels on top of each other, creating a mat that measures 4x2 feet with about 10 inches of thickness. The student then can place the feet flat on the top of the stack with the hands on the flat ground. Lifting the hips from this elevated position simplifies the stretch.
Some gymnastics studios may use two of these Gym Mats products stacked on top of each other, creating a 20-inch stack that further simplifies the process of learning the backbend stretch for novices. Some beginners may start with the 20-inch stack and then move to the 10-inch stack before going flat on the floor, mastering the stretch at each step along the way.
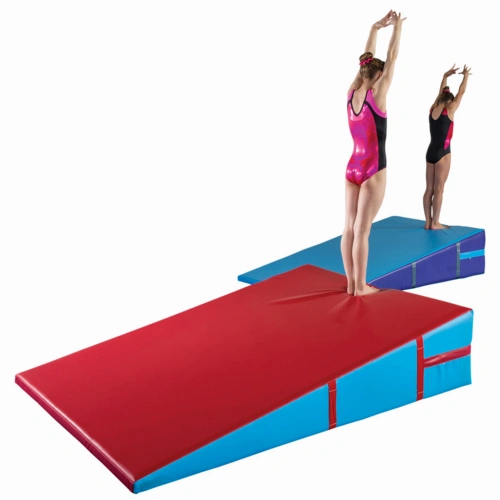
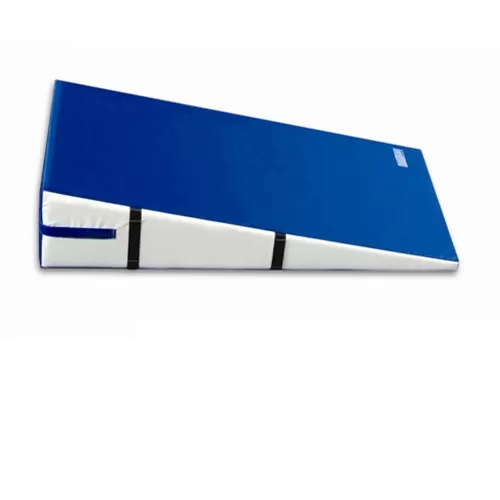 Another option as a backbend mat is an incline mat, also called a cheese mat. This is a wedge shaped mat that provides a gentle slope that helps the gymnast or cheerleader achieve the backbend stretch easier than when working from the flat floor.
Start with the feet higher up on the wedge and the hands on the lower part of the wedge. This slight elevation should make it easier for young students to lift the hips and complete the stretch properly. When using a wedge mat, having a teacher available to help with spotting is important for beginners.
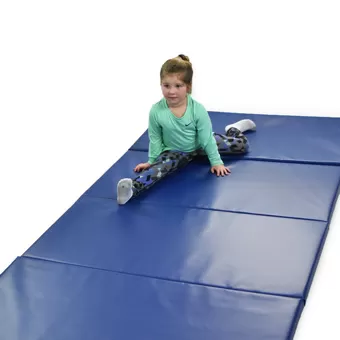
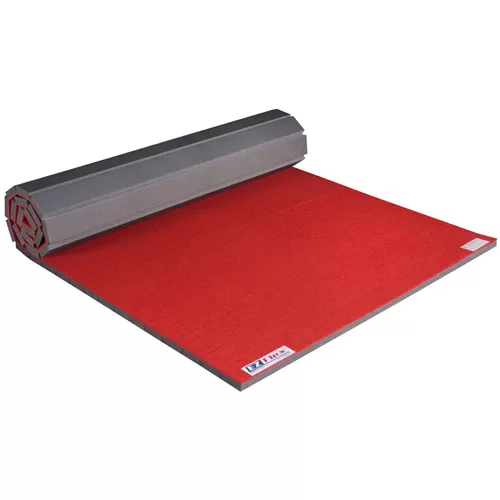 When it’s time to try backbends on a flat floor, the Home Cheer Mat product is an excellent choice. It has a carpet top that provides firmness and traction for doing the backbend, and it’s attached to a 1.375-inch polyethylene foam layer for cushioning.
What Are the Best Mats for Practicing Back Walkovers?
Once the student feels comfortable with these backbend stretches from a flat ground, the next step often involves going from the backbend to a back walkover.For learning the back walkover skill, it’s helpful to have a spotter. The student can start with a backbend. From there, the student can leave the hands on the ground before kicking the legs upward and, with the help of the spotter, fully flip over, landing with the feet on the opposite side, eventually finishing in a stand up position.
As the student gains more control over the movement required for the back walkover and increases the core strength, it’s possible for the student to begin doing the back walkover without a spotter.
With or without a spotter, it can be easier for the student to have success with the skill by taking advantage of a back walkover mat. This type of mat can consist of a few different configurations, depending on the level of skill the student has.
 For beginners, one of the best back walkover mat designs is again the octagon gymnastics mat. This is a cylindrical shaped mat with eight flat sides on it. From the end, it looks like a stop sign.
It will provide the stability required to start the walkover skill. However, with eight sides to it, it also can roll incrementally as the student works to complete the walkover. As this octagon mat rolls underneath the student, it helps the student gain the momentum needed to complete the back walkover skill.
To start, the student may need the help of a teacher to kick the feet over the head and complete the skill. With the octagon mat underneath the student’s back, though, it provides support to help the student learn to complete the skill alone relatively quickly. It also slows down the technique to ensure proper body positioning.
The next level of back walkover mat to try after mastering the skill with the octagon mat is the wedge mat. This mat contains a slight incline, which uses gravity to help the student gain momentum for the walkover movement, first with a spotter and then alone.
To use the wedge mat (or cheese mat) successfully as a back walkover mat, have the student start in the standing position at the top of the incline (or the tallest section of the mat). The student should begin tipping the body backward toward the downward slope of the mat, eventually having a foot on the mat as both hands land.
The spotter can help to support the student’s back and hips during this backward movement. Once the hands land on the incline mat, the student should kick the feet back over the head until they land near the bottom of the incline on the mat. As the feet hit, the student should release the hands and end up in the standing position.
Eventually, the student can use the momentum the incline mat creates to perform the back walkover without the need for a spotter.
The next step is to begin performing the back walkover movement on a flat ground without the help of an octagon or incline mat. Rather than performing this skill on a firm surface, having a bit of cushion underneath the athlete helps with potential falls.
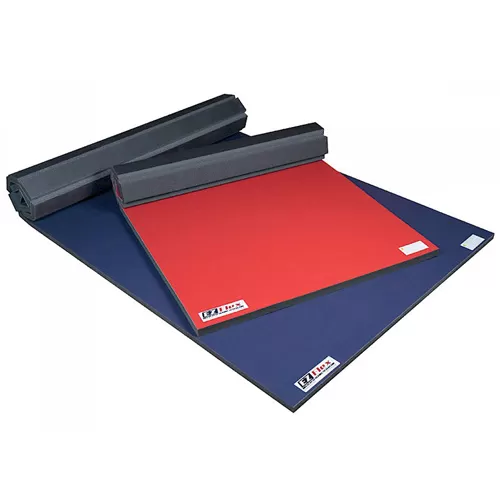
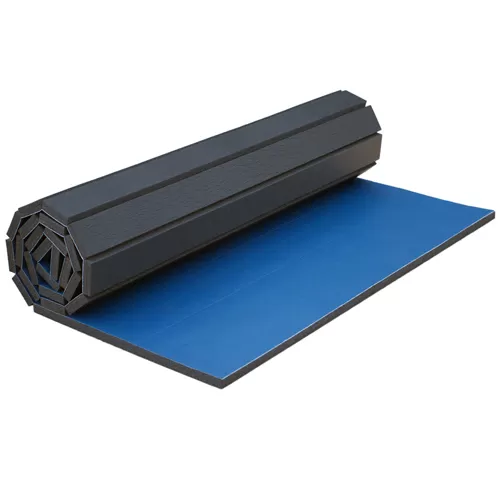 The Roll Out Wrestling MMA Mats work nicely for back walkover practice on a flat surface. It has a vinyl top surface to give the student the traction required for a successful walkover. Attached to the vinyl is a 1.25-inch PE foam layer that delivers just the right amount of cushioning in case of a fall.
How Important Are Backbends and Back Walkovers?
After advancing beyond backbends and back walkovers, the gymnast or cheerleader can perform other types of maneuvers. These two skills serve as basics for quite a few other important skills. After gaining a back walkover skill, the athlete may try a front walkover or kickover, for example.The back walkover typically is easier for the majority of athletes, because when they land after the back walkover, they’re basically in the standing position, which allows them to lead directly into another skill.
The front walkover, meanwhile, requires the athlete to spring forward out of a bridge to land on the feet, which requires a bit more core strength than the back walkover.
The back walkover can lead to a back handspring too, which is important for cheerleaders looking to add a tumbling skill to their routines.
Additionally, the back walkover will be part of floor exercise routines for gymnasts, as well as advanced balance beam routines. It’s easy to see why the back walkover is such an important part of these types of athletic workouts.