How to Replace a Broken Floor Tile
Related Product: Max Tile Raised Floor Tile 5/8 Inch x 1x1 Ft.
However, when you make use of modular flooring materials from Greatmats, replacing damaged tiles is a far easier process. The replacement or repair work with many of our tiles is meant to be as cost effective as possible, leaving you with a great looking floor again in very little time.
Replacing Interlocking Foam Tiles
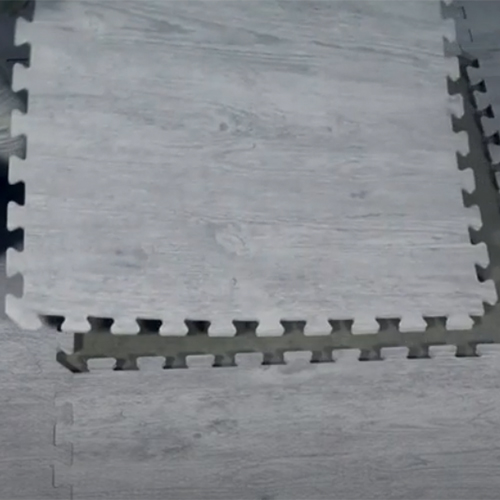
If you are repairing interlocking foam tiles from Greatmats, the process for how to replace a broken tile is an easier process than with most floors. The interlocking edges that resemble a jigsaw puzzle do not require glue to hold them in place, so you can fix a punctured tile relatively easily.
If the broken tile is in the middle of the floor, see if you can pry the damaged tile loose with your finger. If the tiles are too thick or stiff to pull an old piece loose with your fingers, place a flathead screwdriver blade into the seam between tiles and pry the broken tile upward until it comes loose.
The next step for how to replace a broken tile on an interlocking foam floor is to determine whether the tile is salvageable. Some of our foam tiles are reversible, meaning you can flip the tile over and put it back in place.
If not, you can simply place a new tile into the layout and press the edges down to secure it to the remaining floor.
If the stained or damaged tile is near an edge, it may be easier to pull up the entire row of edge tiles, exposing the broken tile. Pull it loose and replace it with a new one or reverse it. Then replace the row of edge tiles to complete the layout.
Replacing Interlocking Modular Vinyl Floor Tiles
If you are looking for advice on how to replace a broken tile with the Max Tile brand from Greatmats, the process can work as a DIY job.
Max Tile is a type of raised floor tile, where the vinyl layer sits atop a firm plastic base. The interlocking tabs and loops are part of the plastic base, and they hide underneath the final layout.
These tiles fit tightly together without the need for glue. Without glue, you can remove one tile when you are wondering how to replace a broken tile. However, because of the tight fit, it can be a challenging process to pull out a single tile.
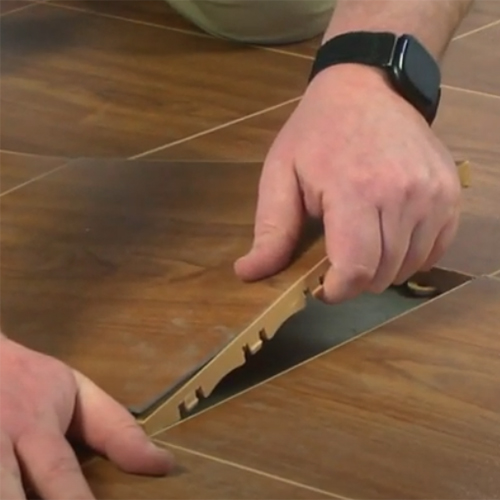
To replace modular vinyl floor tiles, start by using a firm-bladed knife that can penetrate the seam between the design of the tiles. The knife must have a sturdy blade, but it also should be extremely thin to wiggle into the seam successfully.
Always err on the side of the cracked or scratched tile as you try to pry it loose with the knife blade. If any further damage occurs from the blade, it then would only affect the tile that already has damage.
Start the blade on the edge of the tile that has the tabs, rather than the loops. If you are prying against the loops, you could damage the adjacent tile or break your blade because you’re pulling against the weight of the floor.
Once you have an edge with tabs exposed, you can pull two sides loose easily. For the two sides of the damaged tile that have loops, you may have to press down on the damaged tile and pull up on the adjacent tile to pop them apart.
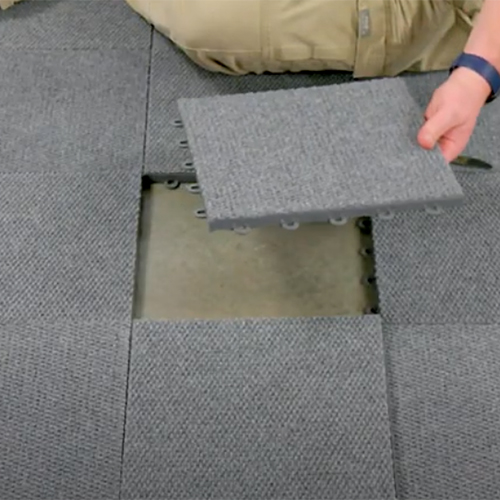
The next step for how to replace a broken tile is inserting the new tile. First, connect the sides of the tile with the loops. You then can try to press the entire layout back in place with your foot or hand, connecting the sides with the tabs on the new tile to the existing loops in the layout.
How to Replace Patio Outdoor Tiles
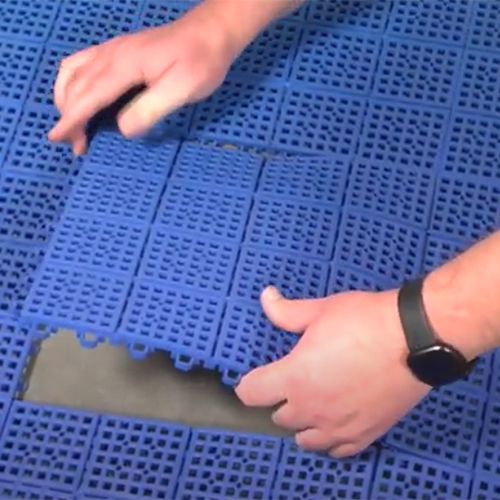
When replacing PVC plastic outdoor tiles from Greatmats, you need to pry the damaged tile loose from the layout. Use a flathead screwdriver or a firm putty knife to pry this tile loose. Because these tiles have a bit of flexibility to them, it’s a little easier to pull a single tile loose than with a Max Tile.
As we described with the Max Tile, work on the side of the tile that has the tabs, rather than the loops, or you’ll be pulling against the weight of the floor.
With the new tile in place, you may have to use the screwdriver or putty knife to slightly bend the new tile to fit into the existing layout.
Another option when the damaged tile is near the edge is to pull up an entire row of tiles to expose the damaged tile, as we discussed with the foam tiles. This makes it far easier to pull out the tile that has a gouge in it.


