How Do You Install Roof Tiles?
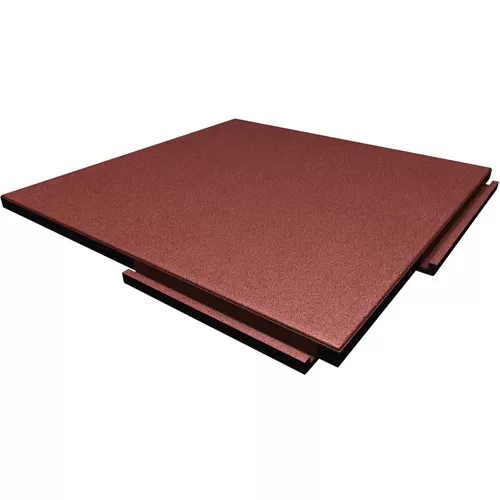

Related Product: Sterling Roof Top Tile Solid Colors 2 Inch x 2x2 Ft.
To help, Greatmats offers many roof top tiles that work well for a DIY or professional installation, depending on your preferences. Learning how to install roof tiles yourself doesn’t require a lot of experience as long as you pick the right product. Best of all, you don’t have to sacrifice style when selecting a product that’s easy to install or that requires a pro.
How to Install Roof Tiles Made of Rubber
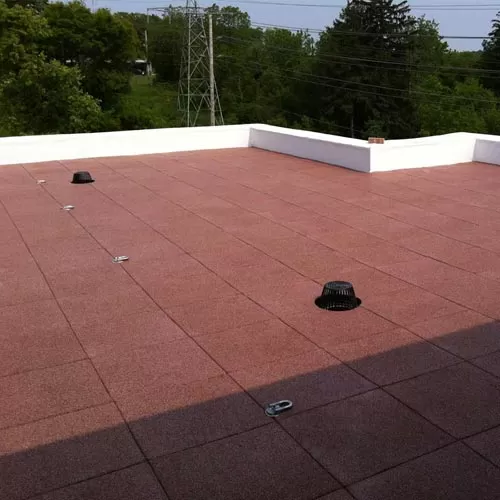
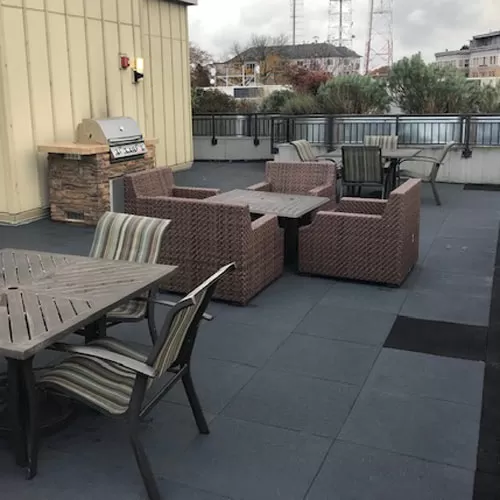
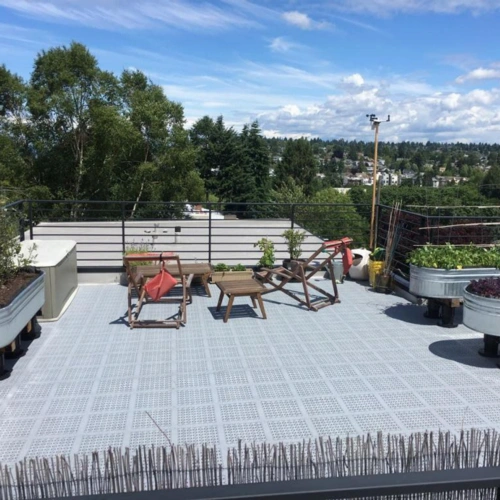
The Sterling Roof Top Tile product lets you install rubber roof tiles to create an outdoor patio design. It works as a DIY installation, but many people choose to hire a professional if they have a large layout.
Site Preparation
To install the Sterling rubber deck top roof tiles, clean the rooftop balcony surface thoroughly. Installers will need a utility knife, a straight edge, a tape measure, a chalk line, and a silver or black marker at a minimum.
Some people will prefer to cut these 2-inch-thick floor tiles for a roof terrace with a powered jigsaw, but keep in mind that this will generate quite a bit of friction during the cutting process.
Layout Process
It is possible to use adhesive on the interlocking tabs with this product to create a more secure installation on a small layout.
For large installs encompassing a few hundred square feet or more, installers should glue down tiles in certain locations, called keystone tiles, to create a highly secure layout. (Follow the instructions included with the product to determine the best location for the keystone tiles.)
Other Special Tiles in Layout
Depending on the size of the layout, you may need to use field tiles, which help to maintain the integrity of the overall layout by going in the opposite direction of the main tiles.
You may need compression tiles, too, which are some of the last tiles that you install. They squeeze into the layout and balance the entire layout by absorbing some of the compressive forces the rubber tiles exert on each other.
The Sterling tile product also has a glueless installation method available, by which installers will lay out the perimeter tiles first and pop in the full-size tiles after establishing the perimeter. (The instructions included with the Sterling tiles fully explain the process for the glueless installation.)
Other Considerations
To simplify the layout process over a large space, use chalk lines, creating a huge grid. This grid gives the installer the ability to see which tiles will need cutting and can help with determining the precise measurement for any non-full-size tiles.
Be certain that your installation does not affect the drainage slope for the roof.
Ultimately, this can be a complex installation process that’s difficult to do as a DIY option when you have a huge rooftop patio space. For this reason, many people choose to hire a professional.
How to Install Plastic Roof Tiles
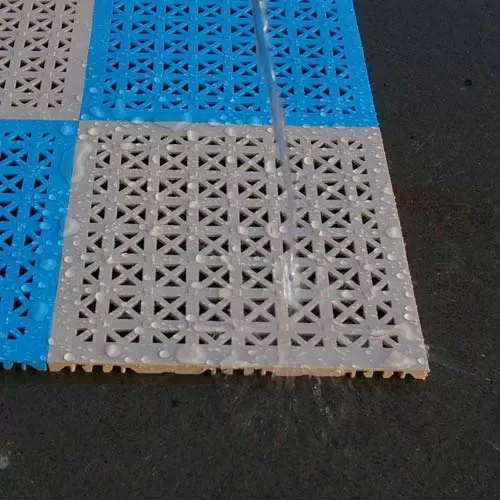
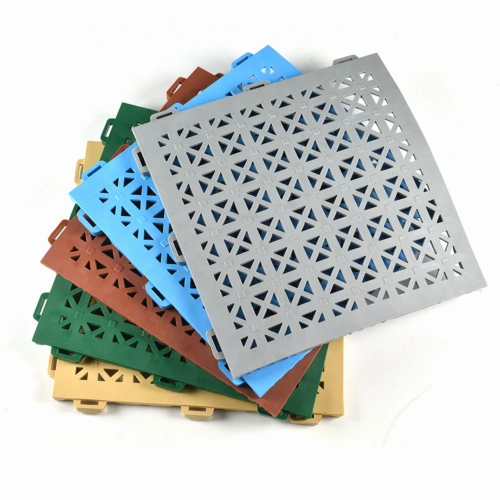
For those who need a less expensive option than the Sterling rubber tiles, the StayLock Perforated Tiles have a lower price point. They consist of PVC plastic instead of rubber, which is helpful for a home install.
The StayLock product also delivers an extremely easy installation process, which certainly is a benefit for new residential installations or low-cost replacement or repair of damaged tiles.
Site Preparation
To install the PVC plastic tiles as a DIY project, you only need a few tools, including a sharp utility knife, a straight edge, a tape measure, and a marker.
Clean the space to ensure it is free of debris.
Layout Process
Start the layout by placing the first full-size tile in a corner of the space or a corner of the perimeter for an island installation.
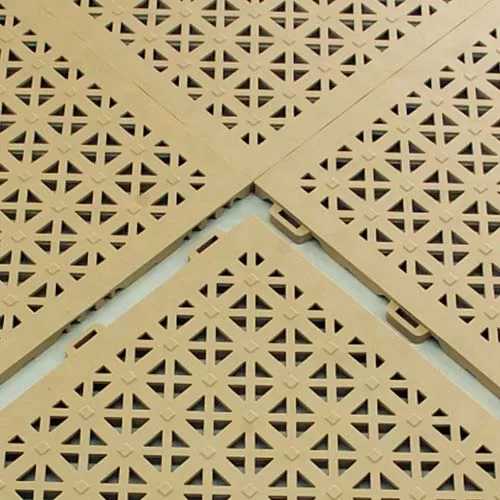
Work outward in both directions from the original tile. The underside of the StayLock tile has tabs on two sides and loops on two sides. Pop the tabs into the loops to perform the installation.
Continue working outward evenly in both directions until reaching the perimeters.
Fit Tight to the Wall
When you run into a wall, you will have to cut tiles to fit in the final rows. Measure the space between the installed tiles and the perimeter border or the wall.
Mark the back of a full-size tile to match the size required. Cut it to fit with the utility knife and straight edge, taking care to preserve the tabs and loops required to connect to the other tiles.
Use a series of shallow scores until you move completely through the PVC plastic tile.
Greatmats Is Ready to Help You Find the Perfect Roof Top Tiles
Tiling a flat-roof balcony on your own can seem like a daunting task. If so, you always have the option of hiring a professional. Otherwise, if you’re looking to save some money, a DIY installation is possible.At Greatmats, we have multiple products to fit your needs. Our roof top tiles experts can help with selecting the best rooftop tiles, based on the type of surface you’re working with and on what type of installation you’d like to do. Reach out to the Greatmats customer service team today!