Installing Outdoor Artificial Grass Turf for Residential Homes

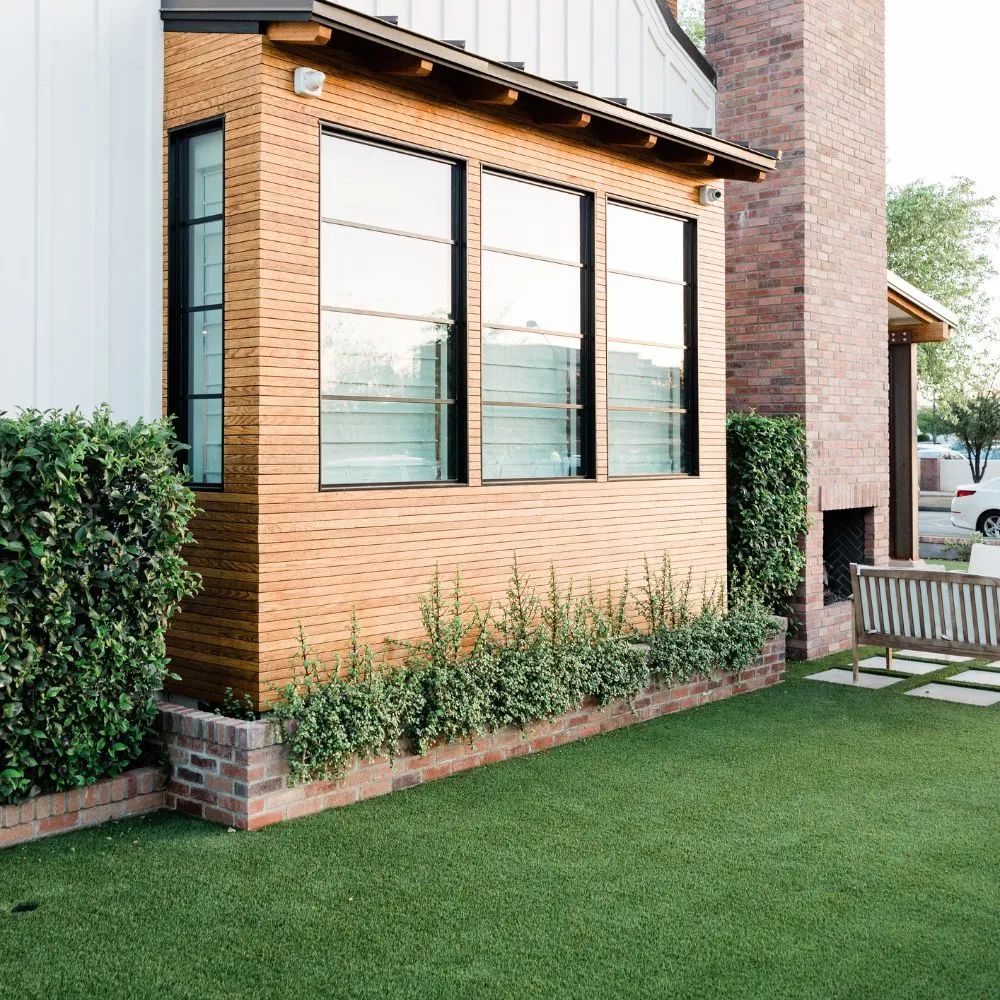
With artificial turf, you won’t have to worry about your grass growth stopping in the winter, or about mud being an issue when you want to use your yard in the spring.
While you can install artificial turf yourself, it’s important to understand the entire process. We’ve explained how to properly install turf so you can plan out everything you will need for your project.
How to Install Outdoor Artificial Grass Turf for Residential Homes
The following steps outline how to lay artificial grass turf and can help to ensure that your project is a success.Prepare Your Installation Site
Measure & Scout: Start by preparing your installation site. Keep in mind the width of the turf that you’ve purchased, and measure out the length and the width of each turf roll on the ground to determine where each roll will be placed. You can use irrigation flags or stakes and landscape marking paint to outline the installation area and the shape.
As you lay out the installation, look for potential issues like irrigation heads, leaching fields, and electrical lines.
Remove Sod: If your yard has sod, use a sod cutter set to 2 to 3 inches to remove existing sod from the area, exposing your dirt base. Use a landscaping rake to rough grade the installation area, then lightly wet the ground.
Ground Prep: Install a layer of ¼-inch minus crushed stone/stone dust, and compact it with a plate compactor or 2 ton double drum roller. Heavily spray the area with a weed killer. You may also want to install a weed barrier fabric to help prevent weed growth.
Plan for Drainage
Drainage Material: Water can flow through artificial turf, so it’s important to make sure that you install a base that drains well. Your base should be a compacted material like crushed rock, gravel, or decomposed granite. It is best to choose materials less than ⅜ inch, which allows for enough compacting. Plan on a base between 3 and 4 inches thick.
Drainage Slope: Once you’ve installed the base, smooth it with a rake until it appears even. If you’re installing the turf on a flat surface in your backyard or around your home, you should create a slope between 2 and 3 percent with a ruler, bubble level, and string. Direct the slope toward a drainage system, if you have one, or toward a curb.
Dampen & Compact: Dampen your base material and compact it. You should pass over the base two to four times with the drum or roller.
Drainage Tile System: Alternatively, you can install your turf using Roof Open Drainage Tiles. These tiles are ideal for installing turf on a hard, flat surface like a rooftop. They create a .25% slope and offer valuable shock absorption.
The easiest way to install your tiles is to start with a hard, flat surface and begin in the top left corner of your installation area. The best way to install the tiles is by working from left to right.
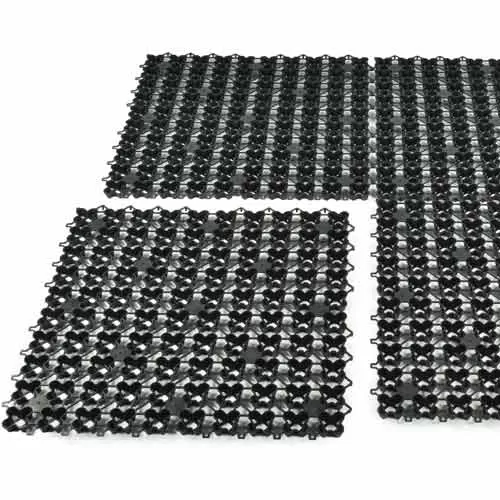
Orient the materials with the indicator tab facing to the bottom left corner. As you add new tiles, make sure that the male connectors drop into the female connectors. Work your way across the area in a row, then start on the next row.
If you need to shape the panels to fit your installation area, you can cut them as needed.
Install Your Turf
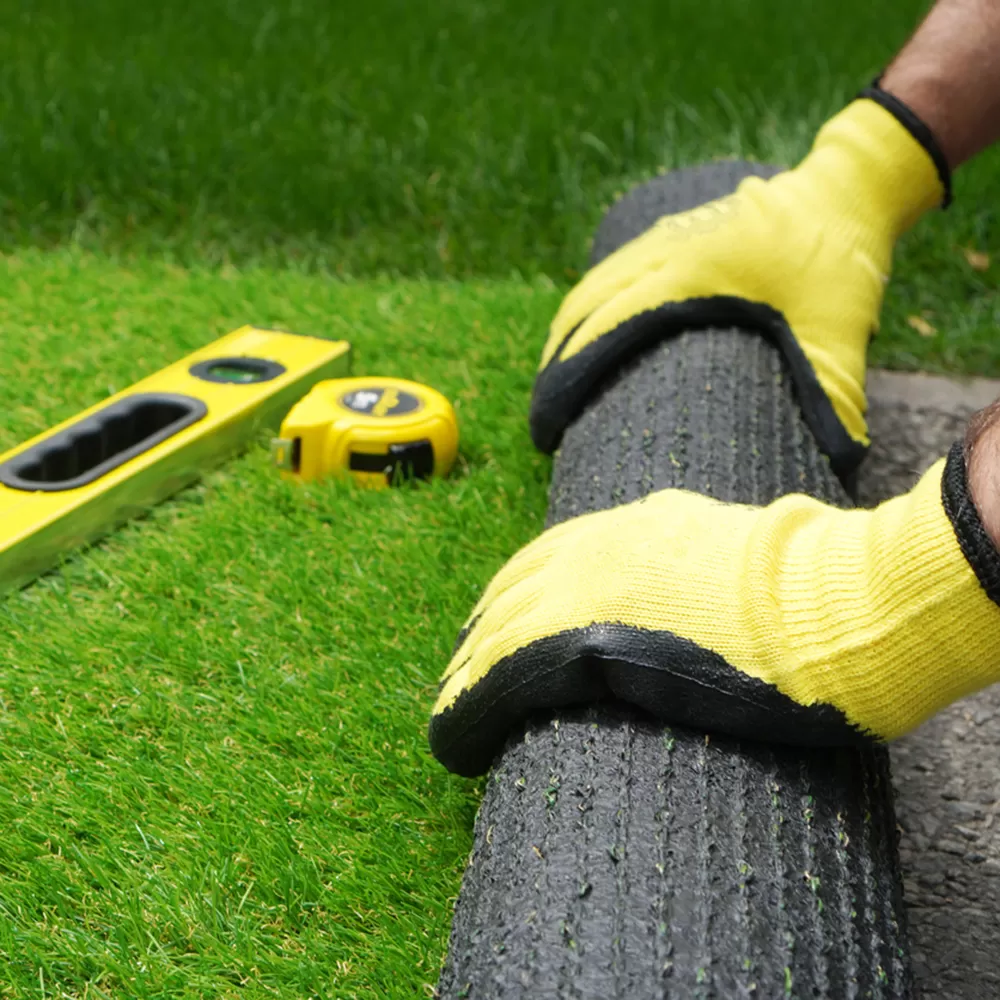
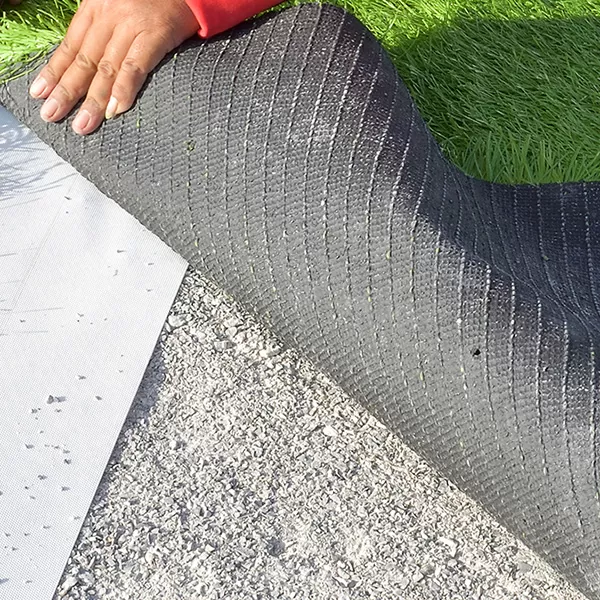
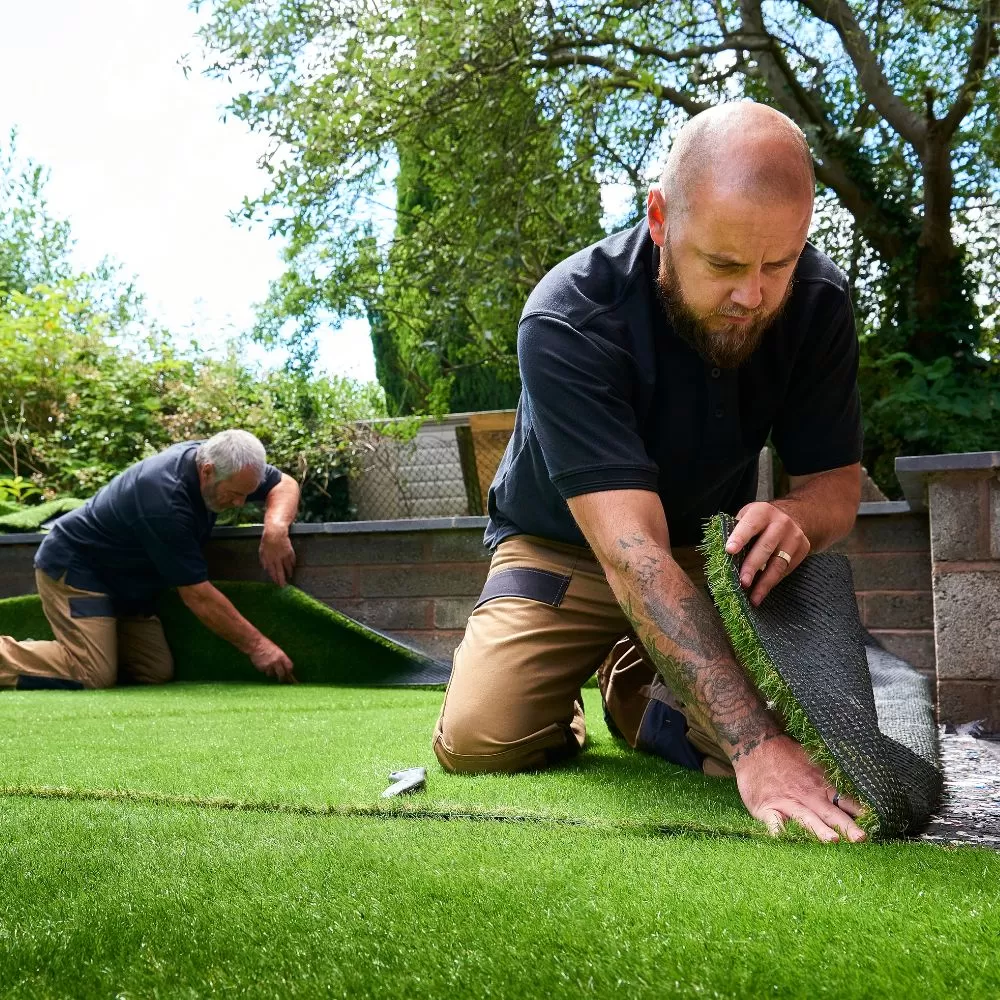
Unroll Turf: Unroll your turf across the base and let the turf relax from being rolled up. Be sure not to drag the surface across the base when unrolling it. Make sure that your turf pieces all lay in the same direction.

Fit Seams: Overlap the edges of the turf pieces by at least three inches. Flip the top piece back over and cut directly between the two stitches on the underside. Overlay the second piece on top of the bottom piece, and mark the bottom piece between where the two stitches of the top piece are located. Flip the bottom piece over and repeat the process, cutting between the two stitches that you marked.
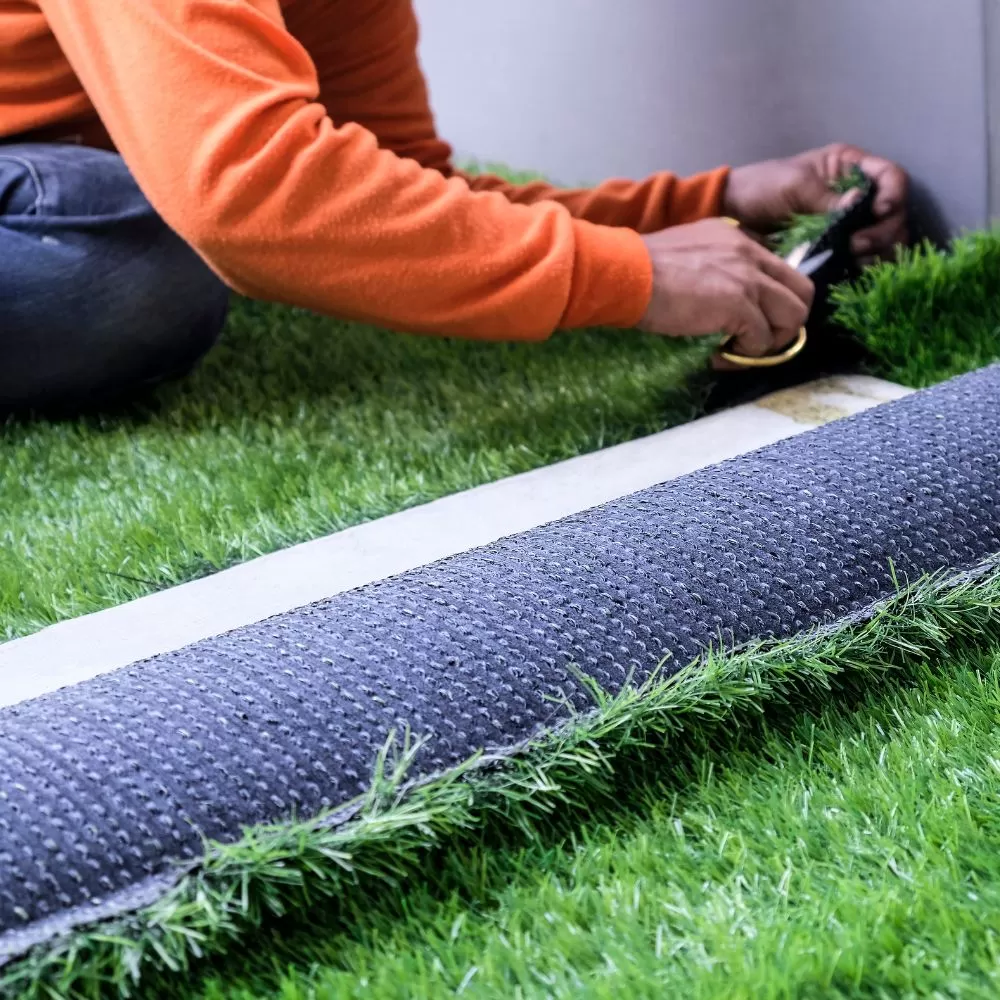
Close Seams:Lay the pieces next to each other and make sure that the seam is tight. Next, use a urethane based adhesive on the seam cloth and spread it with a trowel over a 10” wide portion, then close the seam.
Shape and Fasten the Turf
Shape Turf:With your turf laid over the base, you can fit it to your area by cutting it with a regular carpet knife.
Fasten Turf: To fasten the turf, bury a piece of 4x4” pressure treated wood, then staple the turf to the wood. You can also staple the turf to the base about every 2 feet along your lawn’s perimeter using landscape staples.
Infill the Turf
Turf Infill: Depending on the synthetic turf product that you’re using, you may need to infill the turf. Refer to the manufacturer’s recommended amount of infill stand. Use a drop spreader, hopper, or shovels, to put down the sand in layers. Put down about a third of the sand in the first layer, then use a push broom or street sweeper to drive it into the grass fibers. Repeat the process until you’ve achieved your desired infill depth.
Planning a Successful Artificial Turf Installation
Keep in mind that the success of your artificial turf landscape starts with choosing a quality turf product. At Greatmats, we offer a wide variety of artificial or “fake” turf products that are highly realistic, both in appearance and performance. If you’re planning to install artificial turf around your home, our customer service team is happy to help you choose the product that’s best for your needs.View our PDF version of our outdoor turf installation guide.