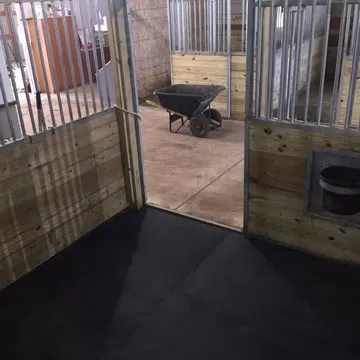
How to Install Horse Stall Mats


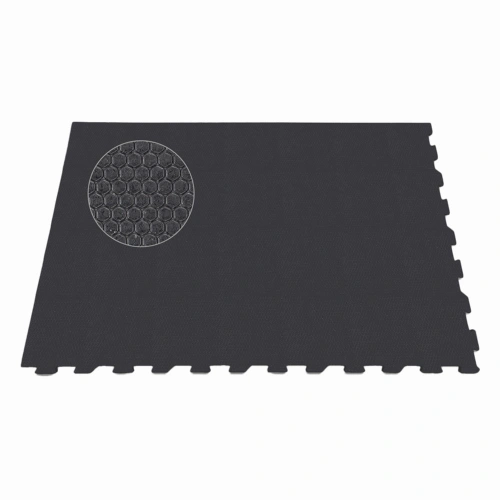


Related Product: Horse Stall Mats Kit Cobblestone 3/4 Inch x 10x10 Ft.
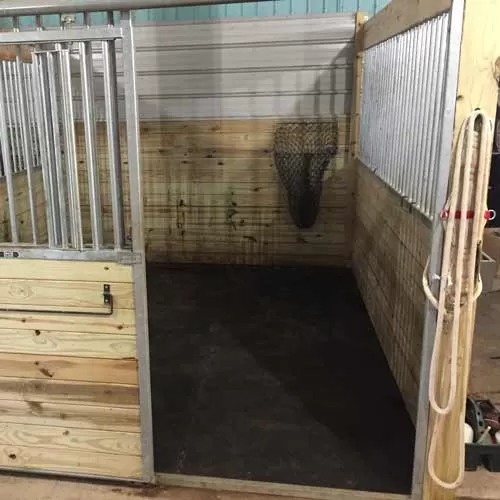
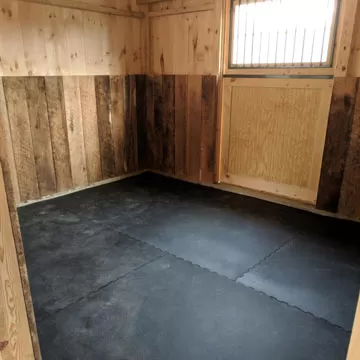
If you're wondering how to put down horse stall mats, they are best installed over concrete, asphalt, wood or any level well-compacted surface.
Prepping a Non-Solid Subsurface
If installing over a non-solid surface make sure your fines do not exceed 1/8 inch in size. This will help eliminate trouble some bumps in your stall floor. This type of subsurface also works the best for drainage and standing up to freezing and thawing conditions.When using fines, it's best to have a depth of 4 to 5 inches of compacted fines that stop 3/4 inch short of the desired height of the mats - assuming you are using 3/4 inch thick stall mats. If not, adjust accordingly with the thickness of your stall mats.
Tamping is the preferred method of compacting the fines. Soaking the material with water will also aid in the process.
Once the subsurface is leveled and compacted, allow it to dry before installing your stall mats.
Installing Horse Stall Mats

Installing Interlocking Kits
If installing an interlocking kit, be sure to follow the diagram and instructions included with your kit as not all mats will necessarily be the same.
Installing Straight Edge Mats
Straight edge mats can simply be laid in place and butted up next to each other. Start in a corner and work your way out leaving a 1/4 to 1/2 inch gap around the perimeter to account for expansion due to heat or humidity. Once you can no longer lay full mats, you may need to trim edges to fit against the opposite wall or around obstructions.
How to Cut Stall Mats
Should you need to cut the mats, a straight edge, sharp utility knife, 2x4 board, and pen will suffice.- Mark where you'd like to cut with your pen and place the 2x4 under your cutting area.
- Using your straight edge as a guide, make repeated shallow scores with your sharp utility knife allowing the cuts to open as they fold over the 2x4. This reduces friction on your blade.
- Keep scoring until you've completed your cut.
View the video above or click here for more detailed directions on how to cut rubber mats for horse stalls.
Other Questions Related to Horse Stall Mat Installation
What do you put under a horse stall mat?The proper surface for under horse stall mats is concrete, asphalt, wood, or a well-compacted surface consisting of fines 1/8 inch in size or smaller.
How do you stop mats from moving around?
The best way to stop mats from moving is to eliminate gaps at the seams and make sure the subsurface is completely level. Gaps and uneven surfaces allow bedding and waste to get in between and under mats, causing buckling and shifting.
Do you need to use shavings or bedding if you have rubber stall mats?
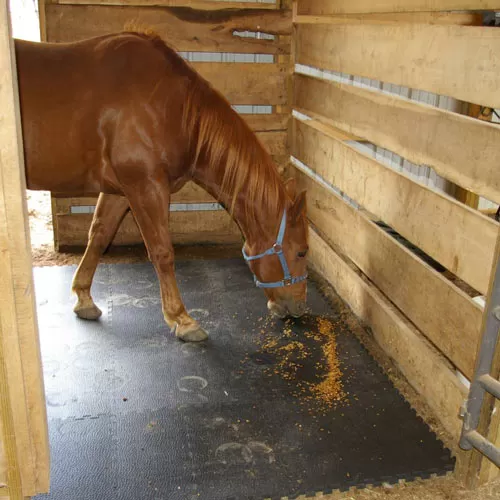
Generally speaking, yes. Horse stall mats offer some shock absorption, but are not intended to be the only source of cushion for a stalled horse. Adding a layer of shavings, straw, or other bedding over the mats creates a comfortable space for your horse.
How do you keep horse stalls dry?
Interlocking stall mats, improved stall design and topography are all factors that can help in keeping your horse stalls dry.
How do you attach rubber mats to concrete horse stall walls?
Stall wall mats protect the surface of the wall and the horse’s knees, hips, and ankles. Knowing how to attach rubber mats to concrete horse stall walls can add many benefits to your horse's space. You can easily mount the stall wall mats on a board using a pancake screw to attach or other attachment and the surface.