Wood Grain Reversible Foam Floor Tiles Video


Related Product: Wood Grain Foam Tiles Reversible 1/2 Inch x 2x2 Ft.
Benefits of Wood Foam Tiles
While these tiles look like wood, they’re far more comfortable than traditional wood flooring. The soft foam tiles feel great underfoot, and they create a forgiving surface that you can stand on or kneel on comfortably.These tiles also offer valuable insulation properties. When laid over a cold basement floor, they create a warmer surface. The tiles measure 0.5 inch thick, so they can be laid over most existing flooring without adding too much bulk. That thickness does help them to transform a hard, cold floor into a more welcoming and versatile surface.
Each tile features a Shore C 35 material density rating, which indicates that this flooring is highly durable. The tiles can withstand foot traffic and significant use, meaning you’ll get the most out of your flooring investment.
The EVA foam is waterproof, so you can put these tiles in areas where leaks and moisture might occur, like in basements. They’re also free of lead and latex, making them safe for use in kids’ play spaces and schools. That waterproof design comes in handy if a drink is ever spilled, since it can be easily mopped up without damaging the floor.
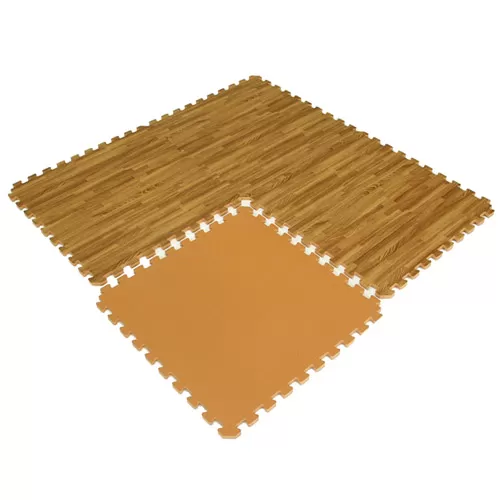
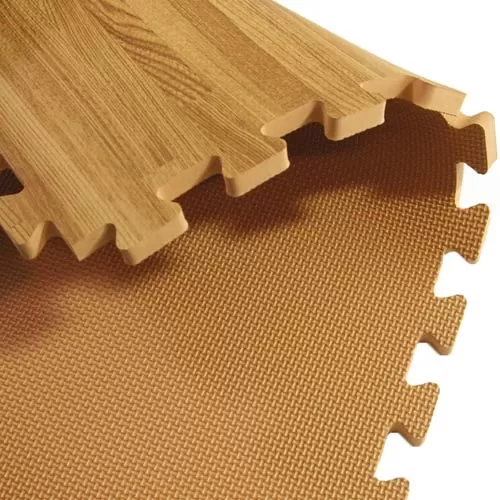
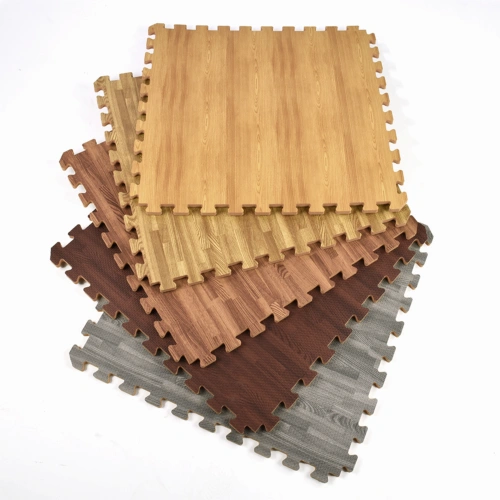
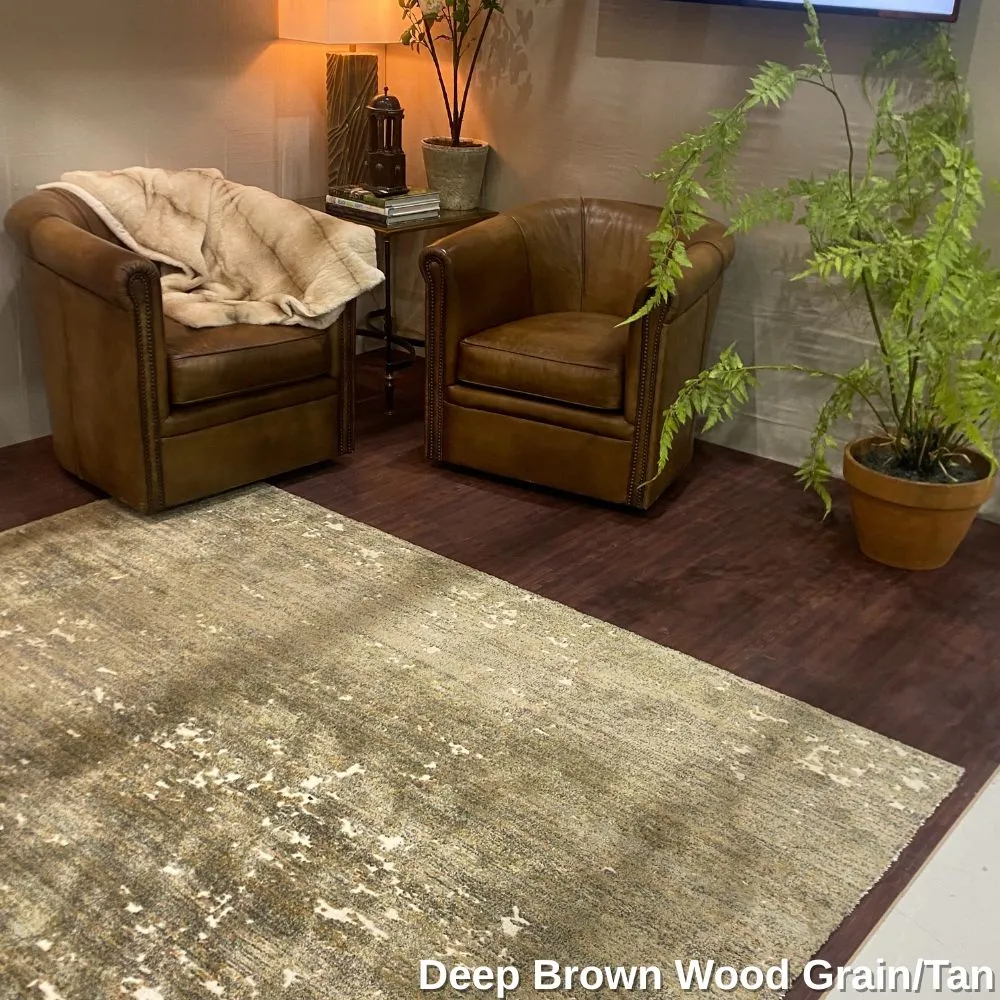
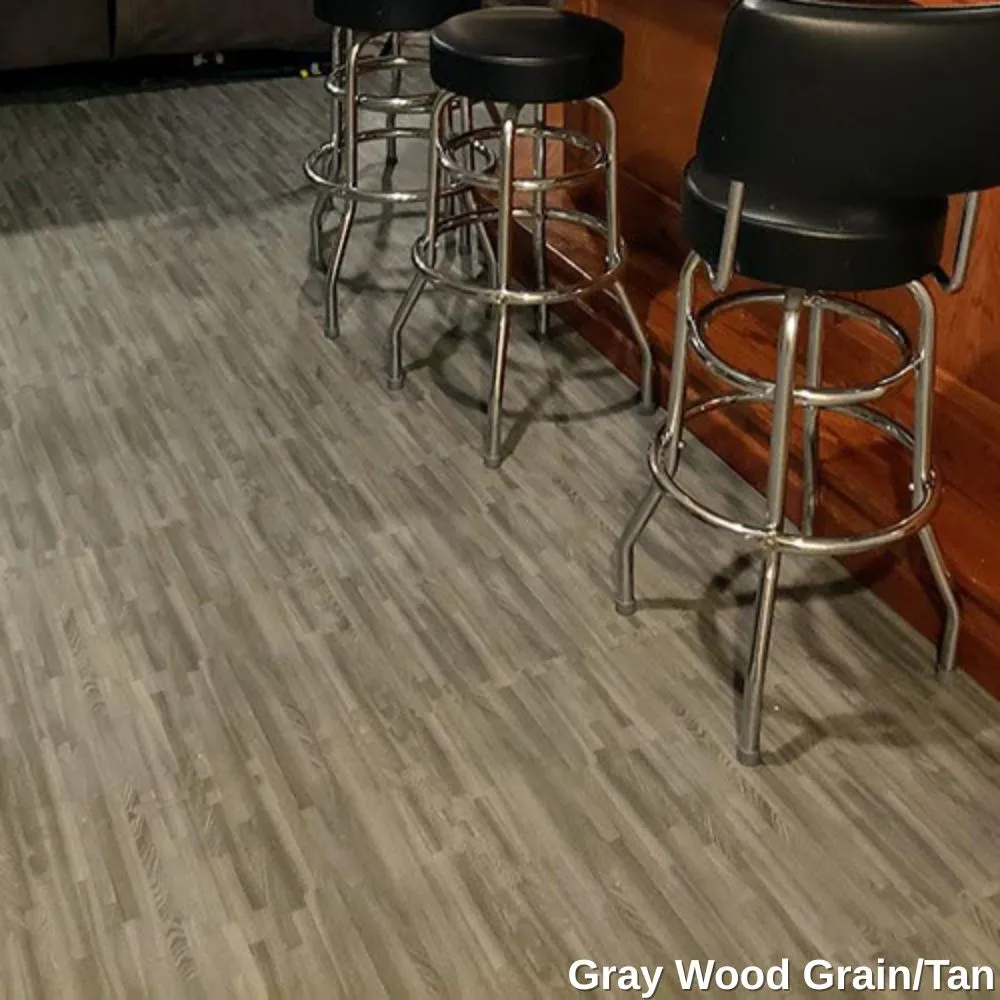
While the tiles feature a wood grain on one side, the tan surface on the opposite side is scuff-resistant. You can choose which option you want to have facing upward, tailoring the design to your needs at the time. With this double-sided format, you can flip the tiles over to get maximum use out of them.
These tiles are backed by a one-year manufacturer’s warranty.
Installing Wood Foam Tiles
Wood foam tiles are easy to install, and they can be dry laid over any hard, flat surface. There’s no glue needed for installation, which means you can remove the tiles again in the future and reinstall them as needed.These tiles interlock together tightly, ensuring they won’t separate while in use. Each mat also comes with two border strips, so you can create an installation with clean, finished edges.
When performing a wall-to-wall installation, start in one corner of the room and work your way out. Temperature changes can cause these tiles to expand, so leave a ¼-inch gap between the tiles and the wall to avoid them from bulging up.
Installing the tiles is as easy as connecting one tile at a time. Press the seams together until they’re united, then add on your next tile. You can trim the tiles to fit if needed by using a sharp utility knife.
For island installations, simply add the border strips onto the exterior tile edges to create a finished look. This is ideal for environments like trade shows, and because you add on tiles one by one, you can customize the floor’s dimensions to each show’s needs.
These tiles are lightweight and easily installed by one person. If you’re frequently disconnecting the tiles, consider investing in a tile storage container. The containers let you store a large number of the tiles and easily move them into and out of trade show venues.
Because the tiles are removable, you can replace any tiles that become damaged or worn. This offers a significant benefit over working with large rolls of flooring, where you would have to replace large sections or even the entire floor. With individual tiles, you can save money and time.
Can I install wood foam tiles myself?
Yes, an easy DIY installation is one of the top benefits of wood foam tiles. You can easily install them in basements, play areas, utility rooms, as trade show flooring, and more. There’s no need to pay for a professional installation, so you can easily stay within your flooring budget.
How do you cut wood grain foam tiles?
You can cut wood grain foam tiles to fit an area or around an obstacle, like a pole, with a sharp utility knife. When making a straight cut, use a straight edge to guide your cuts. Make repeated, shallow scores and gradually work your way through the tile.
Can wood grain foam tiles handle shoe traffic?
These tiles are highly durable and can withstand significant traffic, including shoe traffic. They can be punctured by high heels, however, so it’s best to use them only in areas where high heels aren’t worn.
How do you clean foam wood flooring?
You can damp mop foam wood flooring with more common household floor cleaners, but avoid using bleach on the tiles. You can also vacuum the tiles, but test your vacuum on an inconspicuous area before using it.