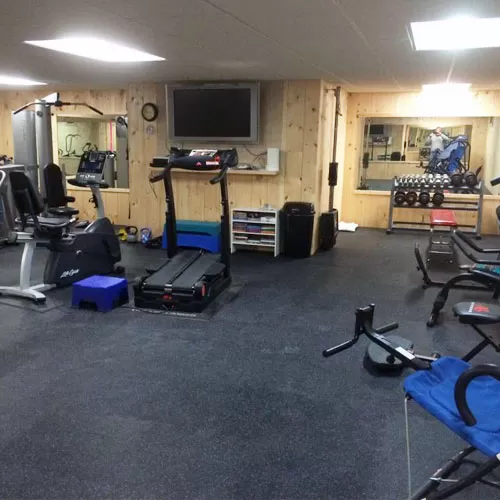
How to Install Interlocking Rubber Floor Tiles on Concrete


Installation of interlocking rubber tiles is easy. No tools are necessary for island installations while wall-to-wall installations require nothing more than a tape measure, straight edge, pen and sharp utility knife and some elbow grease.
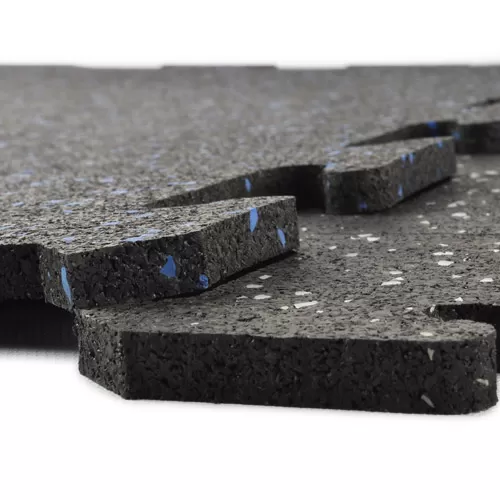
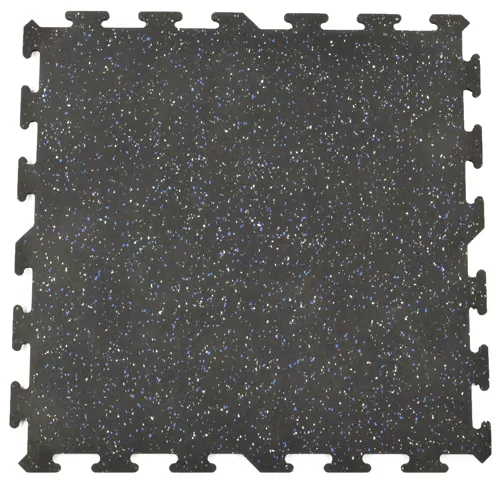
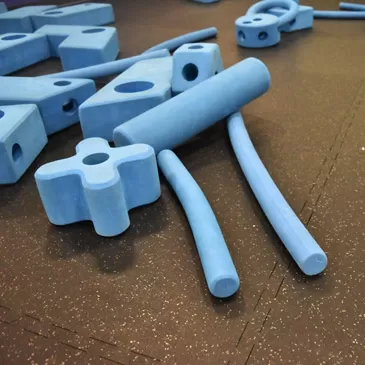
For interlocking rubber tiles with a universal interlocking system, such as Greatmats 8 mm 2x2 foot Interlocking Rubber Tiles, the tiles can be laid in any direction and the installation can save on waste by using cut tiles in other positions in the install.
Universal interlocking tiles are only available as center tiles.
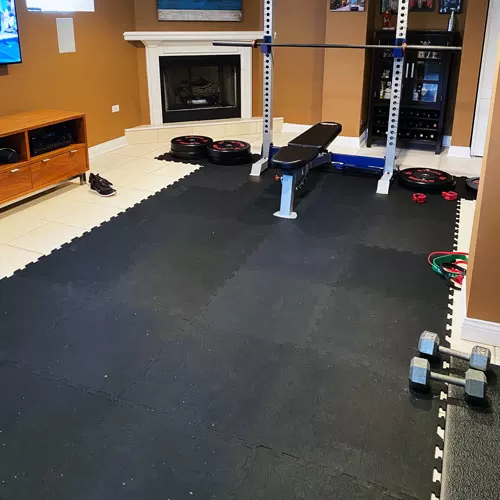
- When installing a rubber floor consisting entirely of center tiles, begin in the center of the room layout, and work your way out to the edges.
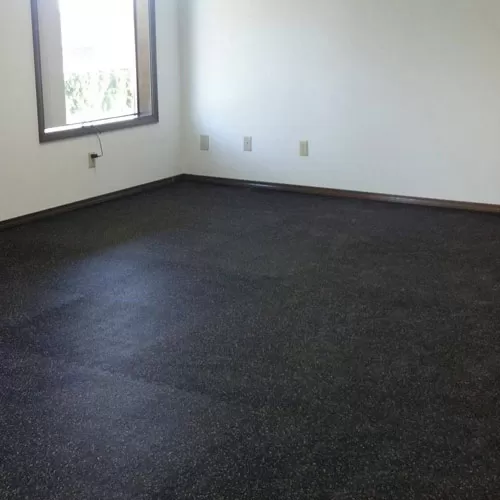
- For wall-to-wall installations, you'll need to cut the tiles to fit. Once you've reached a wall and can no longer fit a full tile, measure the distance between the wall and the already laid tiles minus 1/8 to 1/4 inch for expansion. Mark that distance on the tile you'd like to cut and line up a straight edge along the mark.
- Using a sharp utility knife, follow the straight edge guide and cut the rubber tiles using a series of shallow scores to keep a clean edge. Keep in mind that with the universal interlock, you may be able to use scraps for other smaller sections. One cutting tip is to place a 2x4 board under the cut, in order to open the cut seam for second and third passes.
- Push your cut tiles into place, being sure to leave the gap for expansion.
Clean the tiles using a damp mop and neutral pH cleaner.
Greatmats' offers 2x2 foot 8 mm interlocking rubber tiles in black and in four different 10 percent color fleck options.
Enjoy your Greatmats Interlocking Rubber Tile Flooring!