How To Install RaceDeck Garage Floor Tiles
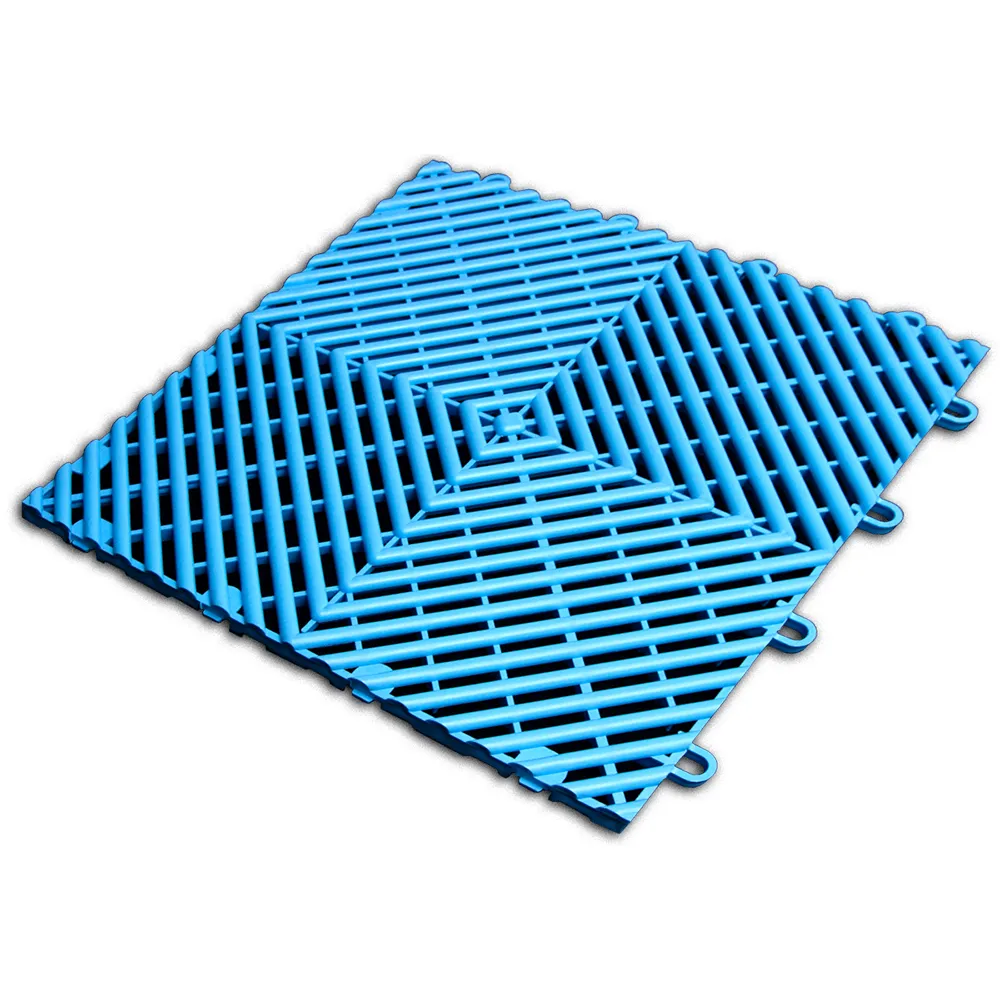


Related Product: RaceDeck Free-Flow Garage Floor Tile 1/2 Inch x 1x1 Ft.
How to Install Interlocking Garage Floor Tiles
The RaceDeck modular tiles are designed to easily connect together, creating a secure hold while in use. These tips and tricks can help you to properly install the tiles for the best results.Carefully Time Your Installation
The temperature can affect the success of your garage floor tile installation. RaceDeck tiles can expand and contract with temperature fluctuations, so it’s best to install the tiles at the hottest part of the day, when they will have expanded. If your floor is delivered while temperatures are colder, store the boxes inside your garage for 24 hours to let them acclimate to the temperature.
When you install the tiles, be sure to leave ¼ to ½ inch of space between the tiles and any walls, poles, or other obstacles. This extra space allows the tiles to expand as temperatures increase. If you neglect to leave this space, the tiles could expand, and the seams could potentially be forced upward.
Gather the Right Tools
Having the right tools can help your garage floor tile installation go smoothly. You will need the following:
- Measuring tape
- Broom
- Mop
- Degreaser
- Circular saw or tile cutter - a fine-tooth blade is best when using a saw
- Hard-soled shoes
Don’t use a mallet to connect the tiles, since a mallet can cause them to be discolored. Instead, choose harder-soled shoes and use them to step down on the tiles to connect them.
Prepare Your Installation Surface
It’s preferred to install RaceDeck tiles over concrete. If you’re working with an epoxy base, the tiles can slide, so you will need to rough up the epoxy to help keep them in place.
Sweep the subfloor to remove all debris before installing the tiles. You will also need to wash it with a degreaser. This is especially important if there is petroleum or chemicals on the floor.
Install Your Tiles
When you’re ready to begin the installation, follow these steps:
- Measure the length and width of your garage with a measuring tape.
- Plan out the tile layout for your garage. The Greatmats online garage floor designer can help.
- Line up the tiles at the garage door opening so that the edges are inside the garage door when it’s closed. Remember to leave room for expansion and to attach your tile edge pieces.
- Begin laying out the tiles so that the loops all face the direction in which you want to install the floor.
- As you lay out the tiles, leave ¼ to ½ inch for expansion along all of the edges.
- Connect the hooks and loops together to secure the tiles, and continue installing the tiles according to your layout.
- Cut any tiles to fit around walls, stairs, poles, and other obstacles using a circular saw or tile cutter.
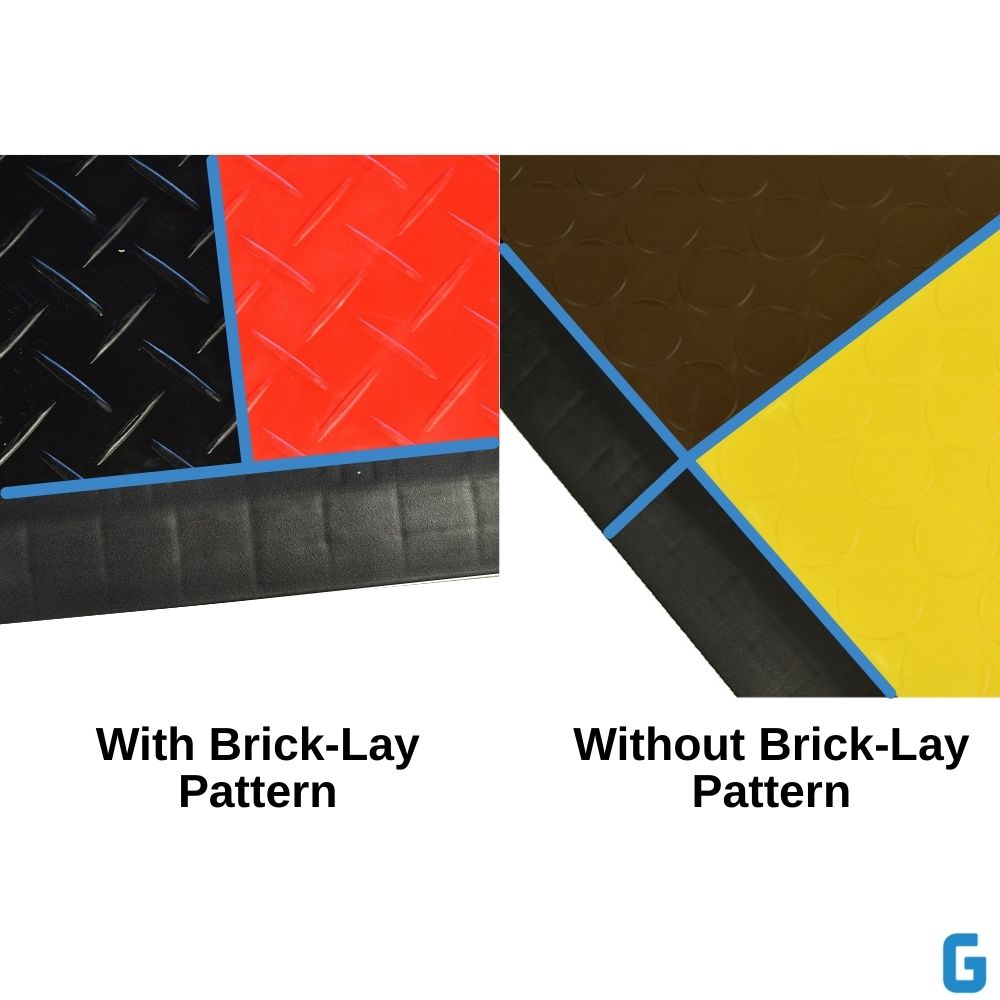
Once all of your tiles are installed, you can connect your ramp borders and corner edges. It’s recommended to install the ramp borders in a brick-lay pattern, which helps support the tiles.
Choosing Your RaceDeck Garage Floor Tiles
All RaceDeck garage floor tiles feature a PowerLock® connection that makes your garage floor tile installation easy and fast, but the tiles have varying features. Here’s a quick roundup to help you determine which tile is right for your garage:
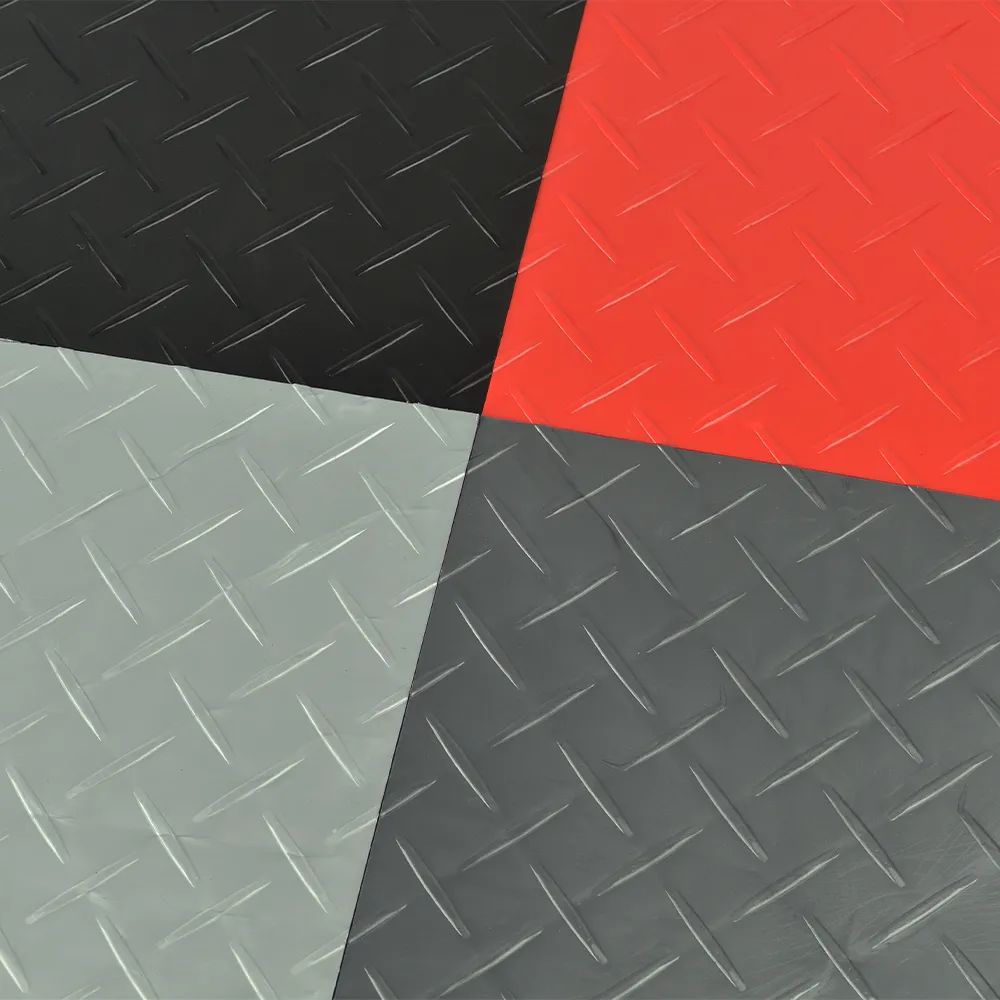
- RaceDeck Diamond Garage Floor Tiles are supremely strong and have been 80,000-pound rolling load tested. The diamond substructure lets air and moisture escape, and the diamond-top texture helps maximize traction.
- RaceDeck Free-Flow Garage Floor Tiles also have a substructure that makes them strong enough to withstand 80,000-pound rolling loads. Their open drainage design maximizes airflow and drainage, ideal for areas where you will be frequently working with liquids.
- The RaceDeck Circle Trac Garage Floor Tiles have 64 circles on each tile surface, maximizing slip resistance for enhanced safety. Their substructure supports make them strong enough to withstand 80,000-pound rolling loads.