How to Install Wall Pads With Lips on the Top and Bottom
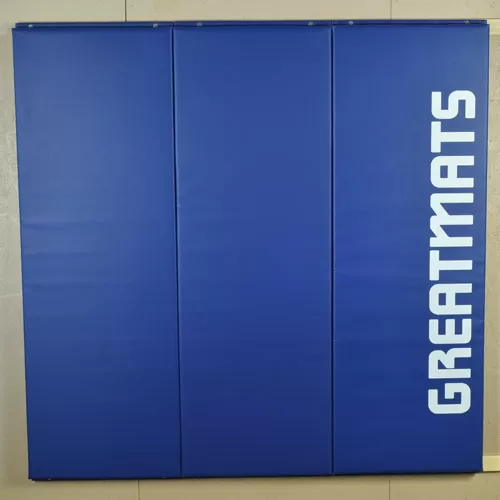
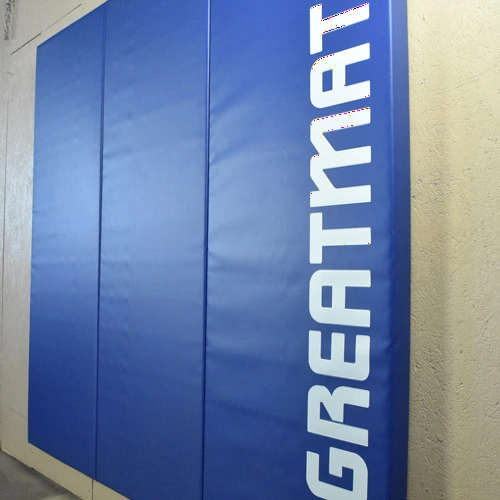


Related Product: Wall Pad 2x6 ft 2 Inch ASTM Foam WB Lip TB
After determining the location of the installation, determine how many inches off the floor your wall pads will be installed.
As a general rule, pads should be at least four inches above the finished floor. For custom pads, the pad height off the floor was determined during the CAD layout process.
Double check the full height measurement of the pad before proceeding.
Level a few marks or line across the wall at the bottom and top of the pads These marks will guide the installation of our furring strips. You'll likely want on in the middle as well.
Furring strips should to be installed above the bottom line and below the top line.
Pre-fasten screws to the furring strip. Then using a level and a friend, line the the furring strips up with your level lines and screw to the wall, making sure to connect to studs behind the wall.
The furring strips will need to be cut for length if they extend past the desired padded area.
To ensure the furring strips are aligned, use a level up from the bottom furring strip.
For wall pads with heights of 4 feet or greater, it's a good idea to include a third furring strip in the middle to the pads from flexing on impact and wrinkling.
Now install the middle and top furring strip.
For wall pads with heights of 4 feet or less, the center furring strip may not be necessary to prevent flexing on impact and wrinkling.
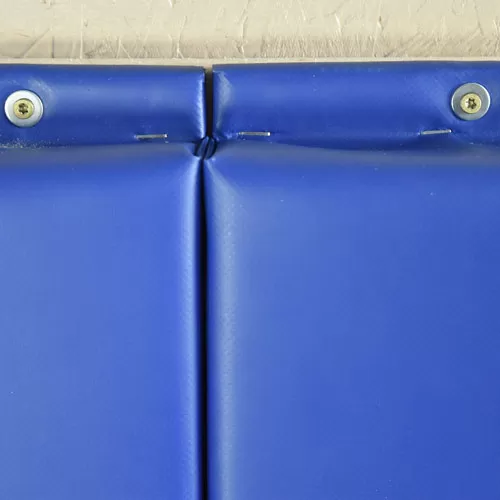
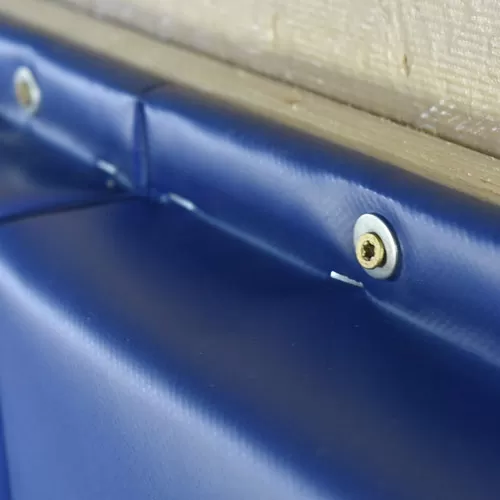
Pre-fasten screws to the wall pads at the lip.
With a friend helping to hold the pads - install the wall pads to the furring strips. Use two screws on the top and two screws on the bottom of each wall pad. The pads should be flush with the furring strips on the top and bottom. There is no need to fasten the pads to the center furring strip.