How To Install Interlocking Horse Stall Mats


Related Product: Horse Stall Mats Kit Cobblestone 3/4 Inch x 12x12 Ft.
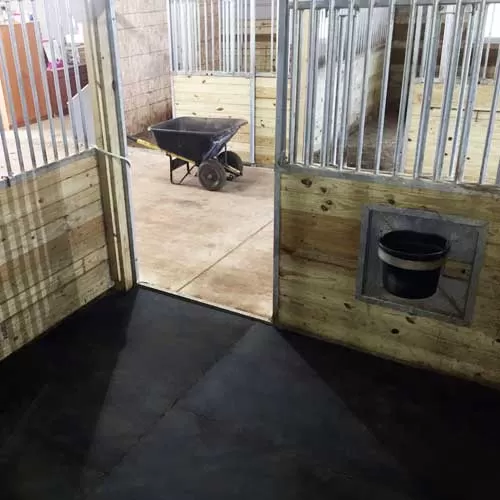
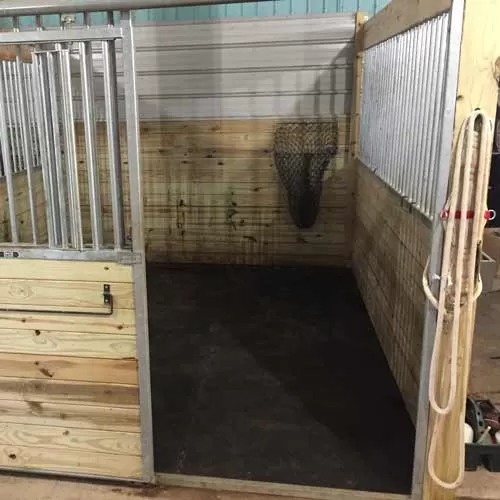
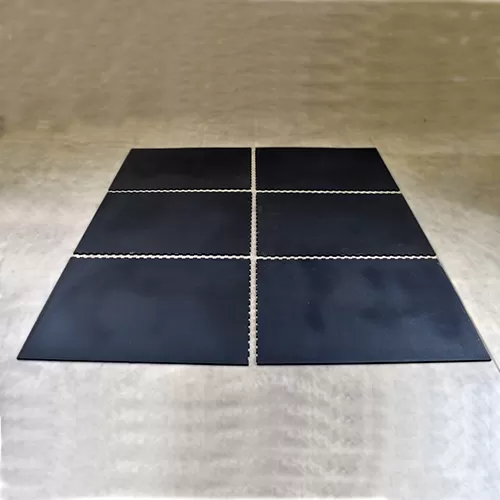
Installing Interlocking Horse Stall Mats
Before you install the mats, you’ll need to prepare the stall. You can install mats directly over a hard surface, including concrete, asphalt, or wood.Prepare The Stall
Alternatively, you can use a compacted surface as the base for your mat installation. You can use materials like stone dust that don’t exceed ⅛ inch in size, since these types of materials tend to compact well.
If you have a desired height for the surface of the mats, you’ll need to account for the mats’ thickness when installing and compacting your base. Otherwise, plan on adding three to four inches of material to the stall.
Once you’ve added the material, you’ll need to compact it using a tamper or roller. Hosing the material down can help, and if possible, leave it to sit for a few days so that it fully settles.
As you compact the material, frequently check it to make sure that the surface is level. You may need to rake the material and compact it again, or you may need to add more material. Spending plenty of time ensuring the surface is well-compacted and level will result in a better finished installation.
Connect The Mats
 If you’re working with a stall kit, like our horse Stall Mat Kit 12 ft x 12 Ft, then you’ll need to refer to the kit directions. By laying out the mats as specified, the mats will be a perfect fit for your stall, and you won’t have to worry about cutting the mats.
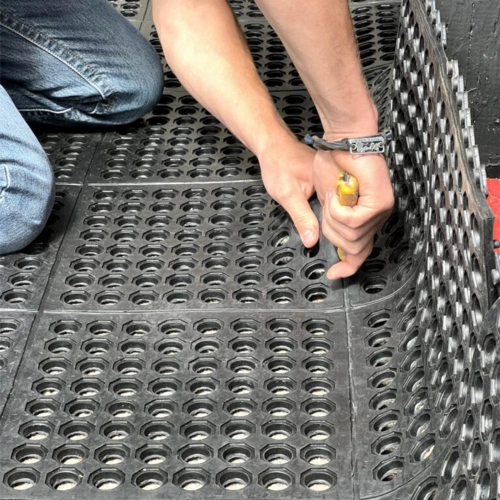
With your mats properly positioned, you can connect them together by aligning the edges and pressing down on the seams. These rubber mats create a strong connection that won’t pull apart during use, and that connection helps to prevent bedding from working its way between the mats.
Since the stall kits eliminate the need to cut the mats, they can save you both time and labor, which is especially helpful if you’re matting multiple stalls.
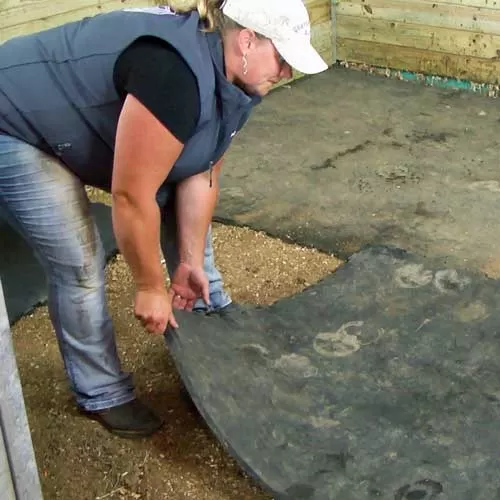
If you’re not working with a kit, but still using interlocking mats, then chances are you may need to cut one or more mats to fit the stall. Start by positioning the mats so you can minimize the number of cuts that you have to make, and ensure that you’re only cutting the straight edges that will be placed against a wall, so the puzzle edges stay in place.
Next, measure the area that you’ll need to cut and use a straight edge to mark the line to be cut. Place a 2x4 piece of wood underneath the cutting area.
Use your straight edge as a guide and then make repeated shallow scores with a sharp utility knife. Position the mat so that you’re cutting over the 2x4’s edge, which will help the cut to gradually fall open. Keep scoring the mat until you’ve cut all the way through it. See below for more cutting tips.
With the mat cut, you can position it in the stall.
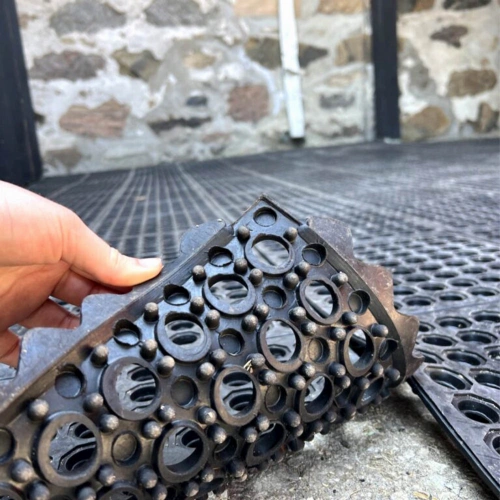
Installing Wash Stall Mats
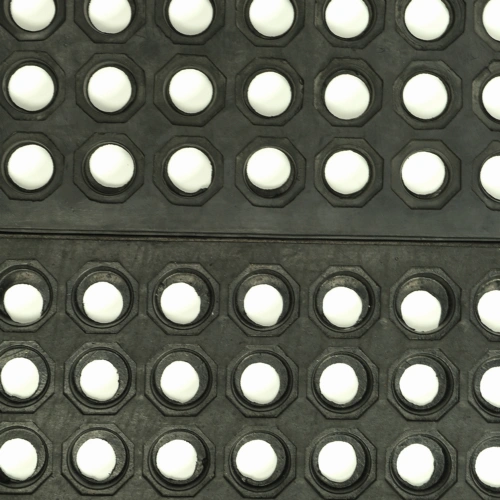
 You can install Rubber Ring Mats in a wash stall using largely the same process. You can lay these mats directly over a concrete base, and because they’re perforated, you can also lay them over a drain.
Using a rock surface as your base can help with drainage. Crushed stone or smaller gravel is best, since it won’t be washed away or work its way through the perforations in the mats.
Installing ring mats is as easy as laying them on top of your base, aligning the edges, and stepping down on them to connect them. Once connected, the mats form a larger surface that helps to keep them in place.
If you’re working with a wash stall that’s surrounded by walls, you may need to trim the mats to fit the space. Only trim exterior mat edges, so the interlocking edges remain in place.
Cutting Horse Stall Mats
To cut the mats, place a 2x4 piece of wood underneath them, and make your cuts over the edge of the wood. It’s helpful to draw a line for the cut on the mat with a marker or pen.Use a sharp utility knife and guide your cuts with a straight edge. Make repeated, shallow scores and let the weight of the mat help to gradually pull the cut open.
Continue making repeated scores until you work your way through the mat.
If you need to cut multiple mats, be sure to frequently change your utility knife blade. The sharper blades will be easier and safer to work with. Some people use a jigsaw or other power tool to make it easier to cut the mats, but be sure to be careful when using these tools as they often generate a lot of friction with the rubber material.