How Do You Clean Protective Wall Padding?
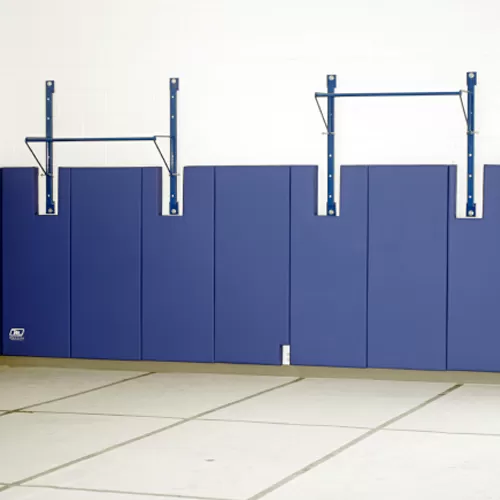
Related Product: Wall Pad 2x6 Ft WB LipTB ASTM
These types of protective wall padding typically will consist of a durable vinyl cover layer protecting a pad of foam material on the interior. Customers should not soak these pads in water to clean them, as this act can result in damage to the entire pad. Instead, just wiping down the vinyl surface layer should be enough to keep it clean.
However, there could be instances where the pads have stubborn stains or have slight tears. Because these pads involve a significant price investment to protect an entire gym area or athletic field, customers want to clean the pads to protect the cost of investment. In these cases, there are other actions the customer can follow to clean the protective wall padding properly without causing additional damage.
How Do Wall Pads Become Soiled or Damaged?
When someone installs protective wall padding in a gym or in a quiet room, the padding may accumulate soils and damage over time. The vinyl layer in these types of pads often is thick and durable, providing long lasting and high levels of performance, but the accumulation of dirt and smudges remains possible.Oftentimes, the installer will place a pad over the door, as well as the wall in the gymnasium or room, and this area could end up with soils and germs as people will touch it frequently while moving in and out of the area.
Ways soils may end up on the vinyl covered wall pads include:
- Athletes using their feet to brace against the pad, causing scuffs
- With an outdoor installation, athletes running, jumping or bouncing off the vinyl
- Objects being thrown against the walls
- Sweat dripping onto or being pressed against the vinyl
- Athletic drinks splashing onto the vinyl
- Stray marks or food on the vinyl from non-athletic events held in the gym
What Steps Should You Use to Clean Protective Wall Padding?
Following a few steps can help with cleaning the vinyl surface cover successfully.- Use hot water and a sponge to try to clean basic stains or spots.
- If the spots remain, try a mild dish soap with the hot water.
- For more stubborn stains, look for a specialized vinyl mat cleaning product.
- For an outdoor installation, using a vinyl cleaner that has a mold and mildew remover may be necessary.
- After completing the cleaning process, wipe down the vinyl pads with clean water to remove any trace of cleaning product or soap residue.
As a general rule, always use gentle cleaners, brushes, sponges, and cleaning motions to prevent damage. Add a little more force only if needed.
Are There Cleaning Products to Avoid Using on Vinyl Padding Covers?
When cleaning protective wall padding, use of certain types of materials and cleaning products could result in further damage to the vinyl. Some of the cleaning products to avoid include:- Cleaners with chlorine bleach
- Cleaners with acetone
- Common household brand name cleaners, including 409 or Clorox
- Scouring sponges
- Pumice
- Any gritty cleaning materials
Finally, avoid using any power washers or other devices that create pressurized jets of water on the vinyl covers. These items could cause permanent damage to the vinyl material, leading to holes or tears that are unrepairable.
Are There Ways to Repair Tears in Protective Wall Padding Vinyl Covers?
When the vinyl cover for the padding suffers a tear or puncture, there are opportunities to perform a repair on the material. Some tears are so deep that repair may not be possible, but minor tears are relatively easy to fix as a DIY project.Start by ordering a vinyl repair kit from Greatmats. It is important to match the color of the vinyl repair fabric to the color of the pad the customer owns.
When performing the repair, the customer will cut the square of vinyl repair material to be a couple of inches larger on all sides than the puncture or tear. Make sure to thoroughly clean the vinyl material around the tear, removing any stray threads or other materials that could cause an incomplete adhesion. Oils from the skin and other soils also could affect the quality of the repair.
Apply the included vinyl cement onto the back of the patch and to the area of the main pad with the tear. Use an even coating on both areas, avoiding globs. Press the two materials together and hold them in place for a few minutes to ensure a tight adhesion.