How To Tile A Garage Floor with Plastic Garage Flooring


Related Product: RaceDeck Free-Flow Garage Floor Tile 1/2 Inch x 1x1 Ft.
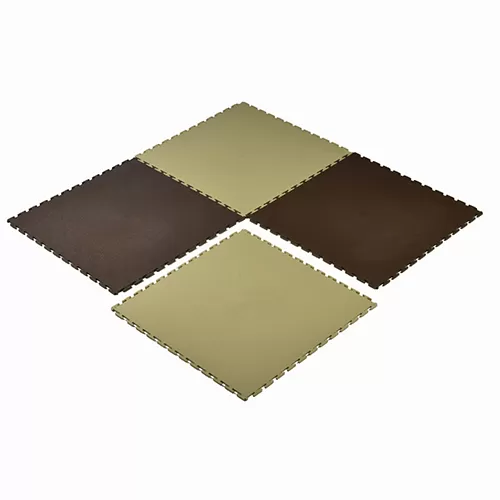
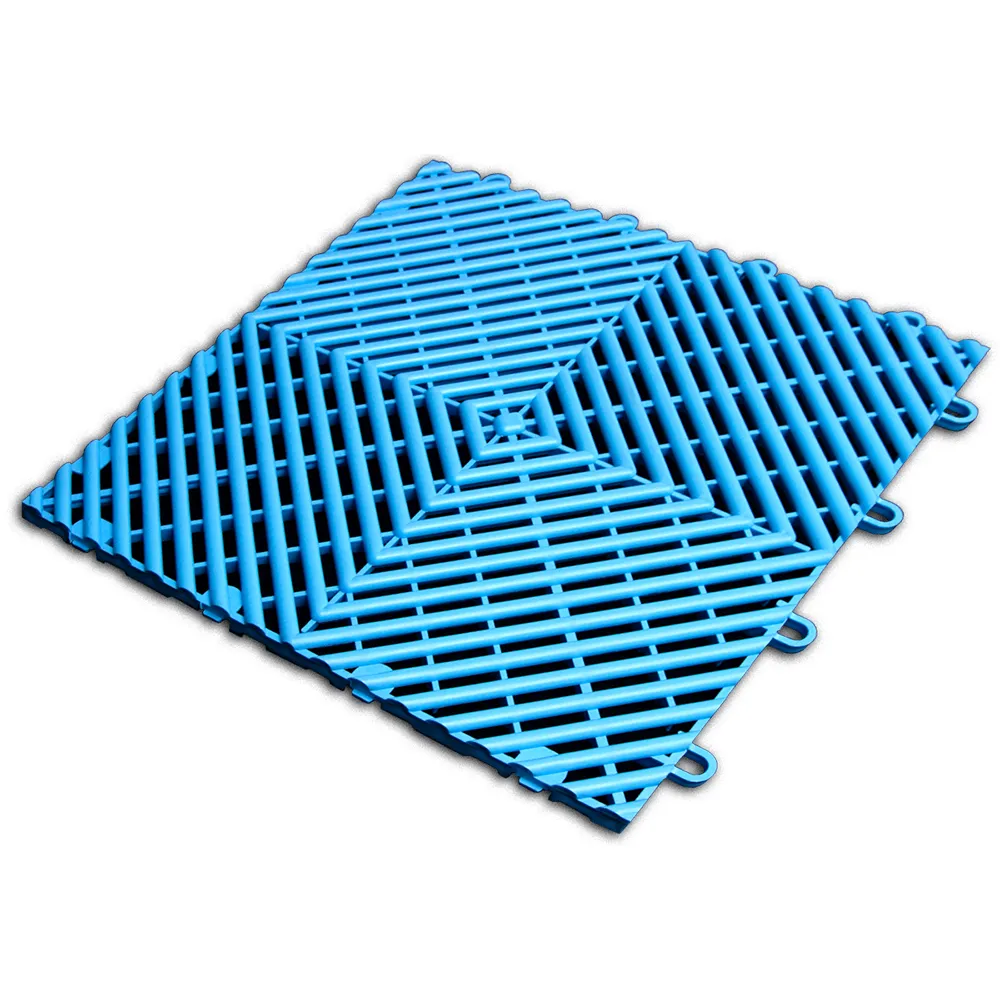
The majority of these options are made of durable plastic materials that either snap together or push together like a puzzle. The snap together garage floor tiles typically feature a hard polypropylene plastic with a raised base. The puzzle-style garage tiles are most commonly made from flexible PVC material and are quite low profile.
Below, we'll outline how simple each of these options is to use for tiling a garage floor.
How to Tile a Garage Floor Using Snap Together Raised Tiles
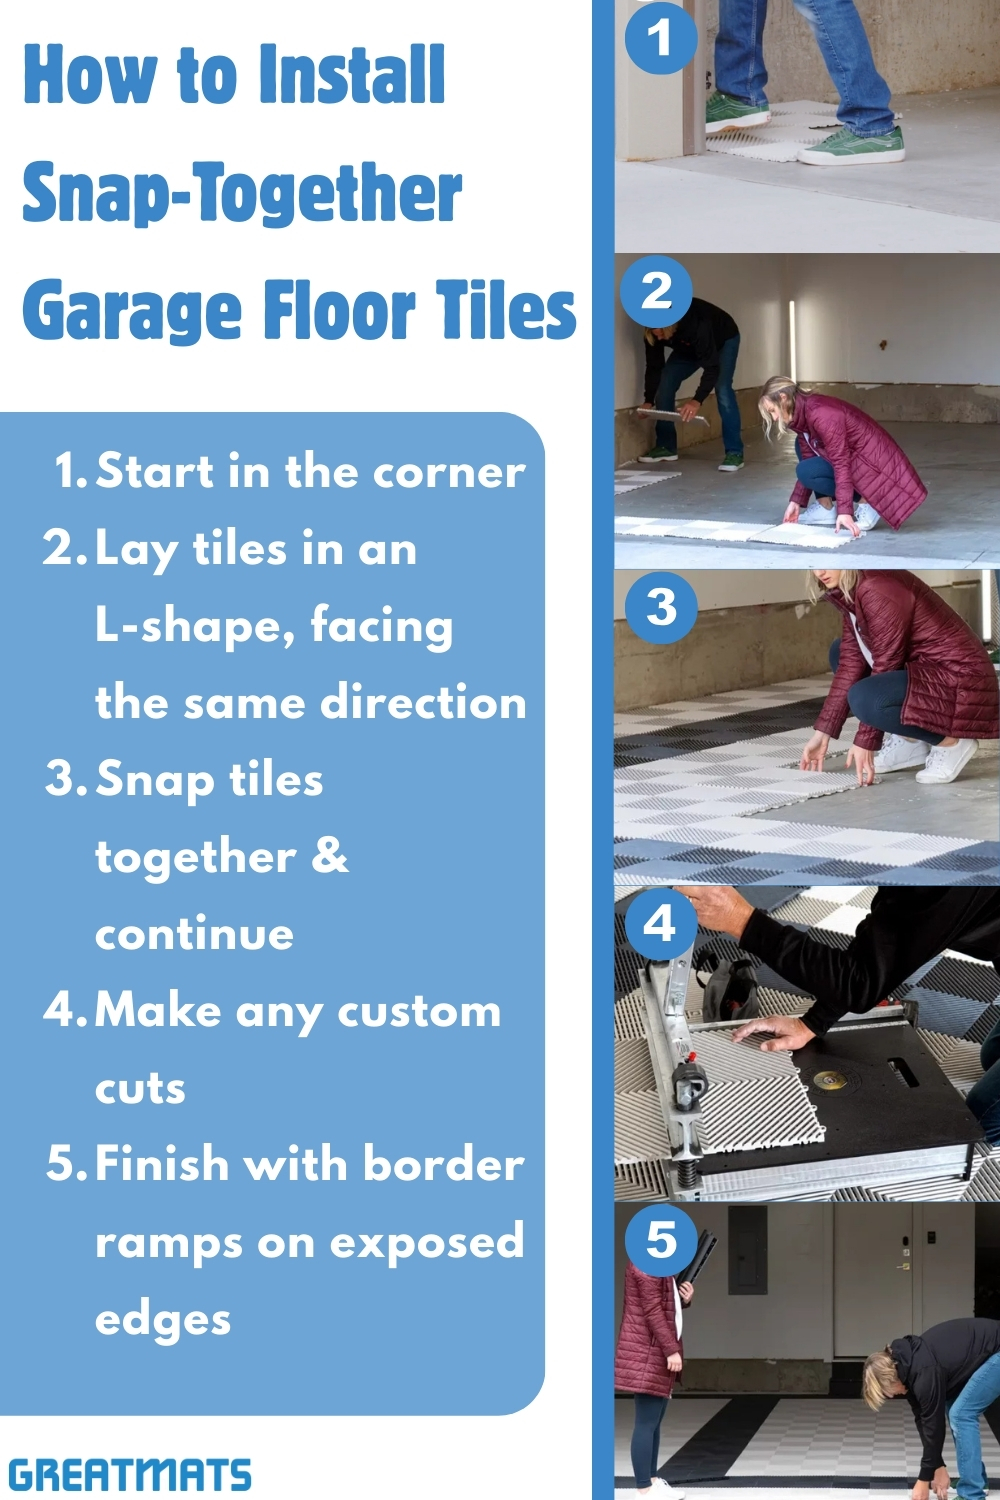
- Starting in the corner of your garage, lay down your first tiles with the loop sides of the garage tiles facing out. Think of the loops as arrows pointing in the direction you'll be expanding your floor.
- Lay your next tiles on top of the loops of the already laid tiles, being sure to keep those ''arrows'' pointing you in the same direction, and step on or tap the seam with your foot until you hear or feel the tabs snap into the loops. This can be done by hand as well. To speed up the process, have two people on hand. One person lays the tile in place while the second steps on the seams. Do this until you've reached your desired coverage area.
- Should you need to cut tiles to fit for wall-to-wall installations, simply cut the tiles with a power saw, keeping in mind the direction the tiles will need to face. This can also be accomplished through scoring with a sharp utility knife and then bending the tile over a table or other solid edge at the score until the garage tile snaps. If going the utility knife route, be sure to score deeply enough to avoid causing flex marks in the surface of your tile when snapping the tile at the cut.
- For island installations, either finish with snap-in-place ramped borders or simply cut off the loops on the outside edges of your floor.
How to Tile a Garage Floor Using Flexible Plastic Puzzle Tiles

Installation of flexible PVC garage tiles is very similar to that of its snap together polyproylene counterpart. Puzzle-like interlocking garage tiles are as simple as pushing the puzzle pieces together and trimming edges when necessary, using a sharp utility knife and a straight edge. Be sure to use a series of shallow scores until you've cut all the way through the tile to ensure the cleanest cut.
- Start in the center of the room and work your way out toward the walls.
- Line up the T-shaped tabs on one tile with the slots on an adjacent tile and press the edges together. With the T-shaped tabs, the two tiles will connect tightly, meaning they will not pull apart when placed under the stress of regular foot traffic. Use a rubber mallet to push the interlocking tabs into place.
- If you plan to drive or park vehicles on these PVC garage floor tiles, it is recommended to glue the tiles to the subfloor to prevent shifting.
- The tiles can easily be cut to fit your space by using a sharp utility knife, jigsaw, or band saw.
- Add border strips to any exposed edges for a clean, finished look.
Upgrade Your Garage with Greatmats
Now that you know how to install modular garage floor tiles, see what options are available at Greatmats. They are offered in many different thicknesses and surface textures and patterns. For more help, contact a Greatmats sales representative. We're happy to assist.