How to Install Pro Subfloor Dance Studio Elite Cushioned Dance Floor


Related Product: Dance Studio Subfloor Elite 1 Inch Thick Per SF
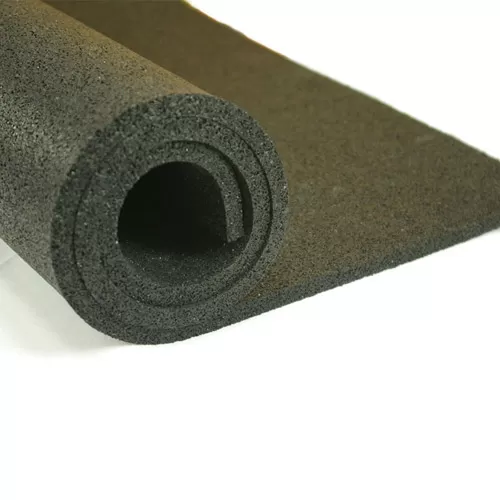
Starting with a clean, hard and flat floor, unroll your cushioned bottom layer of 6mm plyometric rubber. This layer can be dry laid, taped down with double sided tape for glued down.
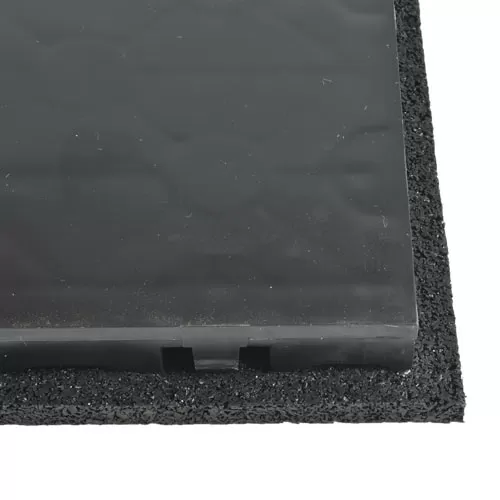
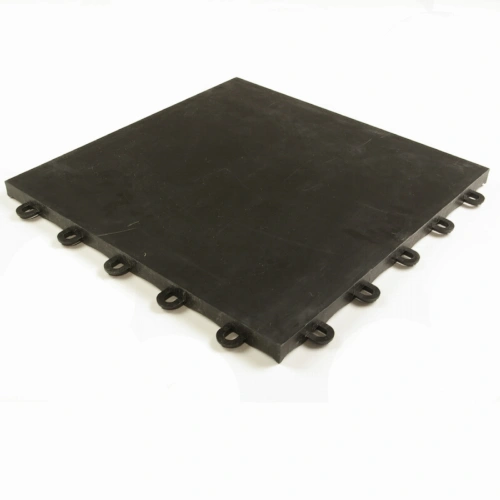
Top the rubber layer with your firm 1x1 foot plastic tiles, starting in a corner with the loop sides of the tile facing out. Work you way out evenly in both directions, placing the tab connectors over the loops and stepping down or tapping your foot on the seams until they click into place.
Once you have covered your desired dance floor area with both layers, your subfloor is complete.
You can then cover the subfloor with your marley flooring of choice if you wish. In order to keep the marley in place, we recommend allowing a gap of about 1 inch around the perimeter of your marley, where you can still see the plastic tile layer of the Pro Subfloor Dance Studio Elite system.
Tape your marley to the plastic subfloor layer with a releasable vinyl tape and you are good to go.
Enjoy your new elite dance subfloor system from Greatmats!