How to Install Rubber Gym Flooring Tiles - ShokLok Interlocking Mats
Made in the USA from recycled rubber, the revolutionary new gym floor tiles reduce noise and vibration while providing thermal insulation and impact absorption.
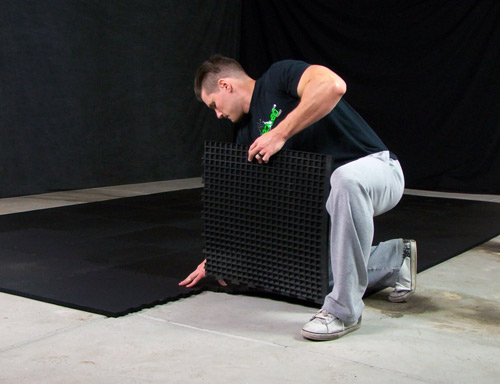
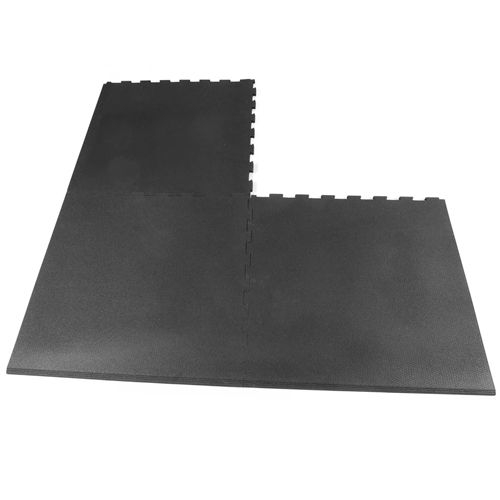
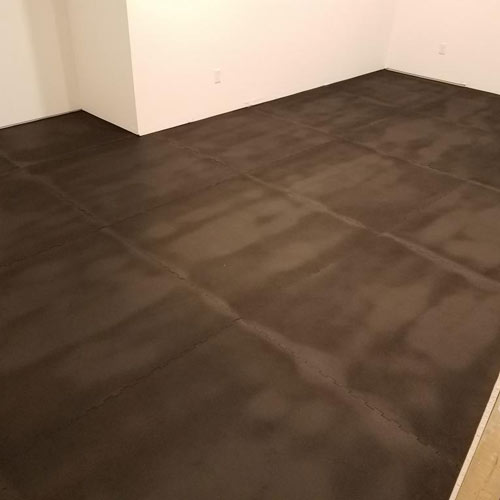
Installation of the interlocking gym floor tiles is easy. Start with a corner tile. Work your way out evenly from the corner.
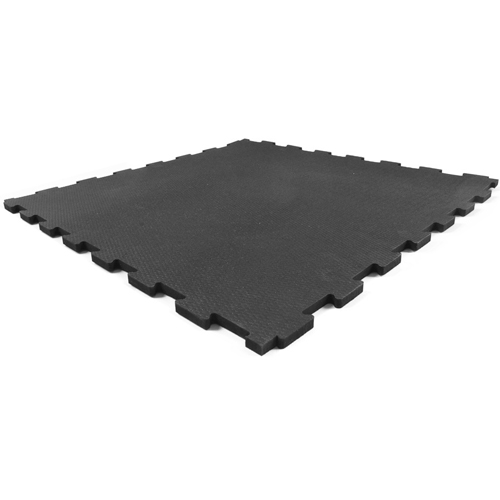
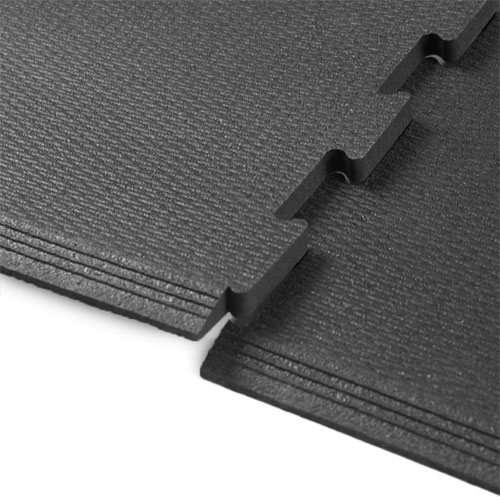
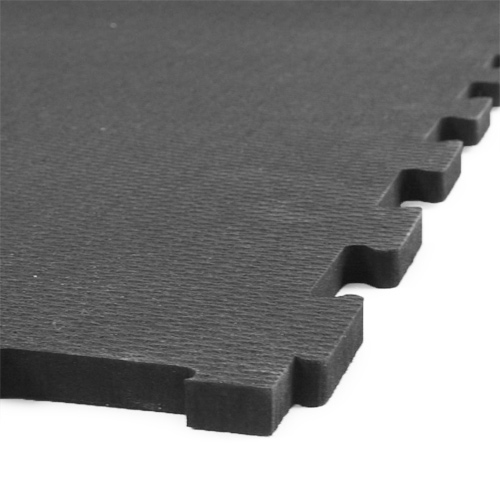
The tiles push together easily, like puzzle pieces.
For a wall-to-wall installation, you may need a sharp utility knife, straight edge, tape measure, pen and a 2x4 board to trim the tiles to fit.
Measure the distance between the already laid floor files and the wall. Mark that distance - minus at least a 1/8 inch gap for expansion - on your tile.
Slide your 2x4 inch board under the tile parallel with the direct you'll be cutting. Using a sharp utility knife, make a series of shallow scores until you've cut completely through the tile.
The 2x4, combined with the weight of the rubber will open the score, reducing friction with your blade and making the cutting process much easier.
Clean the rubber tiles using a damp mop and neutral pH cleaner.
