How to Cut Tatami Mats - Step by Step Instructions
Supplies Needed
Ruler or T-Square with a straight edge, Permanent Marker, Sharp Utility Knife, Putty Knife, 3m Super 77 Multipurpose Adhesive Spray, Sharp ScissorsInstructions
1. Measuring from the edge of the mat you'd like to cut off, mark that distance on the bottom of the mat, and sing your straight edge, draw a line across the underside of the mat. (The foam core will eventually be removed up to this line.)2. Make a second mark, four inches from from the first on the side that you plan to remove and draw another line across the mat. (This will be the edge of the tatami vinyl flap used to enclose the new end to your mat.)
3. Using your sharp utility knife, cut completely through the mat at the line marked in Step 2. (It is helpful to use a series of scores, folding the mat back over a ledge at this line to open the seam up throughout the process.)
4. Carefully cut through the outer material at the line marked in Step 1, leaving the side and top surface vinyl intact.
5. Starting at the line cut just inside the bottom corner of the vinyl and follow the fold to the edge of the mat where you've already cut the end off. Do this on both sides.
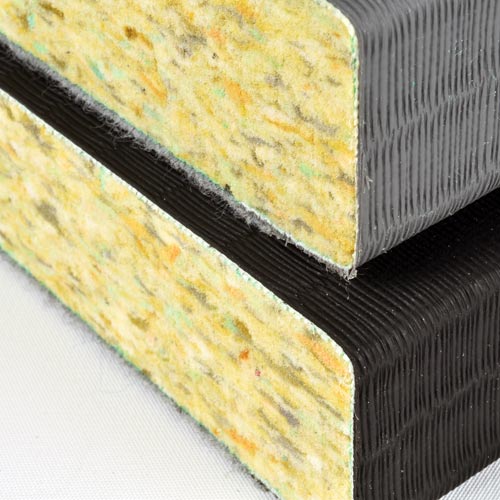
6. Remove the vinyl and anti-skid bottom from that 4-inch wide stretch, exposing the foam core.
7. Carefully cut or scrape the foam core away from the vinyl being sure to avoid cutting the vinyl and pull the foam to remove it from the enclosing flap.
8. Using your putty knife, scrape any remaining foam attached to the flap away until only vinyl remains on the flap.
9. Cut the vinyl again at the remaining corners of the flap, just as in Step 5, separating the side flap vinyl from the top/end flap vinyl. Brush off all foam crumbs from the vinyl.
10. Trim flaps as needed with your scissors to leave clean edges on the final wrap.
11. Spray adhesive generously on flap, core foam and approximately 2 inches in from the edge of the bottom of the mat. (Be sure to follow the instructions on the adhesive can for best performance.)
12. Fold in side flaps first, sticking them to the foam core.
13. Then fold the top/end vinyl flap over the end, sticking it to the bottom of the mat and foam core. Press and rub firmly over entire flap to secure adhesion.
14. Place custom cut end of mat against the wall for best look and fit.
*** This product has been discontinued. Please take a look at all of our Martial Art Mats products here.


