How to Install ProCourt Gym Flooring Tiles Video
Related Product: Basketball Court Tile Gym Floor Pro 9/16 Inch x 1x1 Ft.
Installing these 1x1 foot interlocking court tiles is quick and easy over any hard, flat surface. For floating installations, no tools are necessary. The tiles can also be cut to fit fir custom areas.
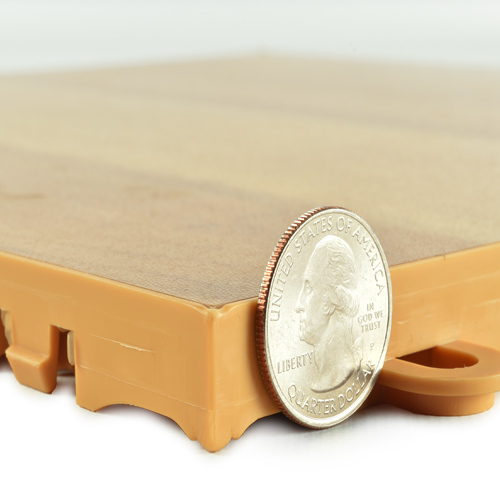
To cut down on noise and increase comfort, start with a 3 mm rubber underlayment layer. Your court tile layer should begin by laying down your first tile in a corner of the room with the loops side of the tile facing out. Keeping your new tiles facing the same direction, lay the tabs of the new tile over the loops of the already laid tile and tap the seam with your foot to get the tiles to snap into place. Work out in a triangular fashion until no more full tiles will fit.
Should you need to cut a tile, you'll want a tape measure, straight edge, pen and power saw. Measure the distance between your already-laid flooring and the remaining wall. Mark that distance with a pen or sharp utility knife on the tile you'd like to cut, keeping the direction of the tile in mind, and follow your cut with a power saw.
Ramped border strips are also available. Once you've reached your desired floor size trim off your excess rubber underlayment using a straight edge and sharp utility knife.
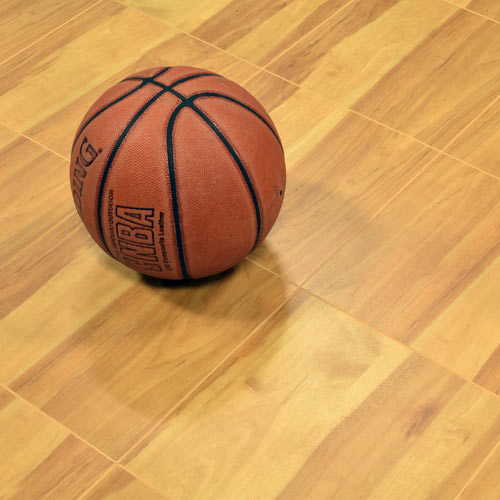
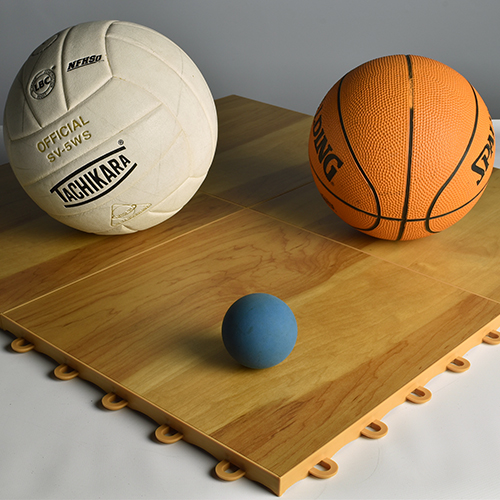
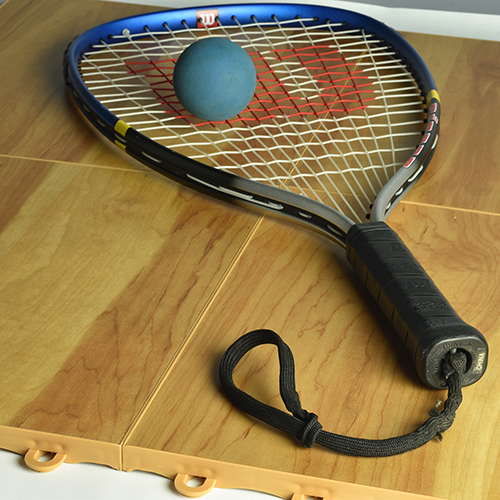
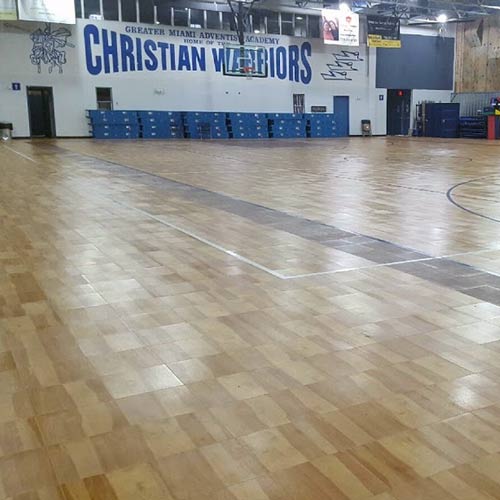
ProCourt Gym Flooring Tiles feature a maple woodgrain design.
Enjoy your new ProCourt Gym Floor!
